Pandemonium Canyon
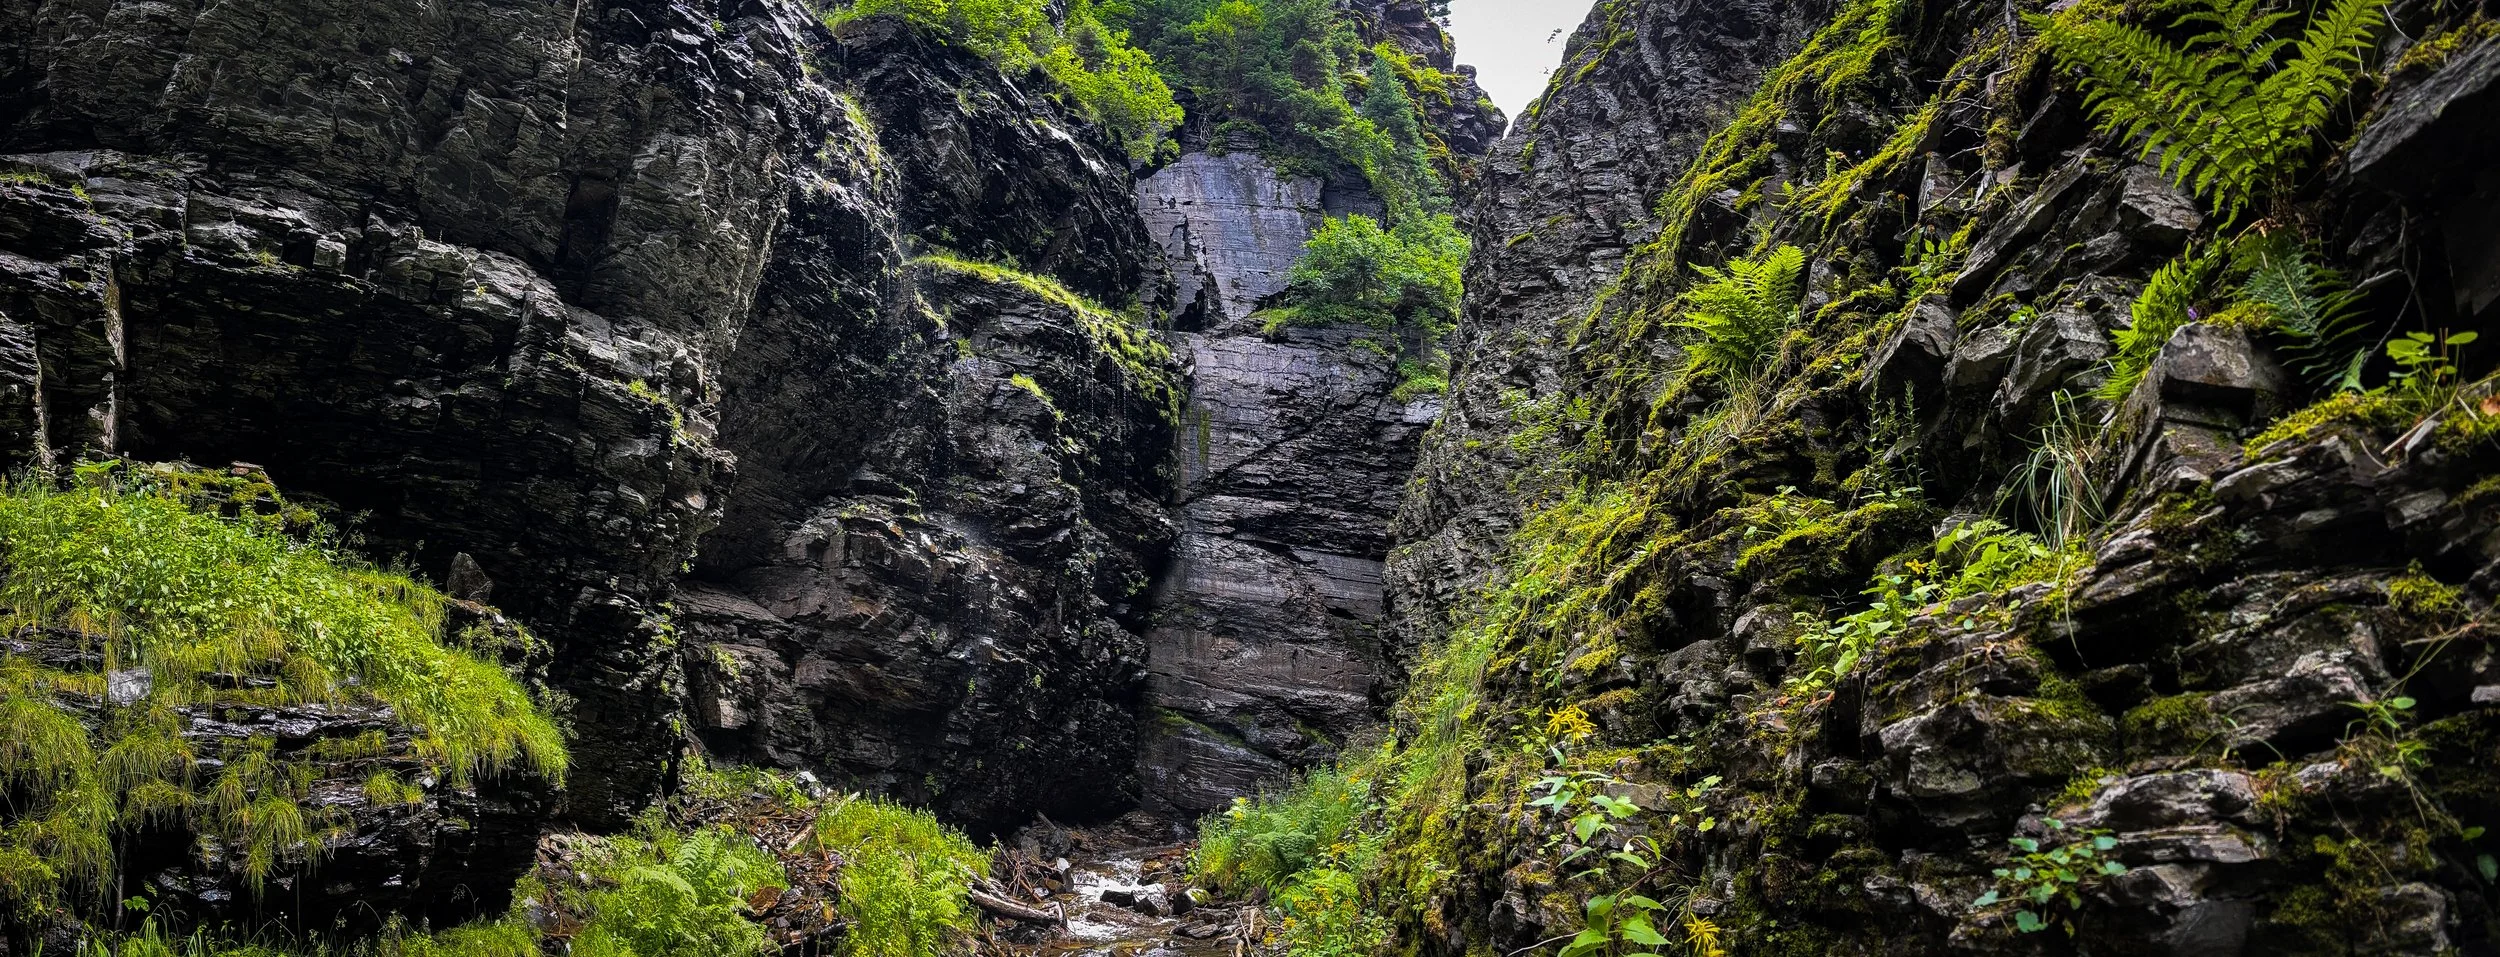
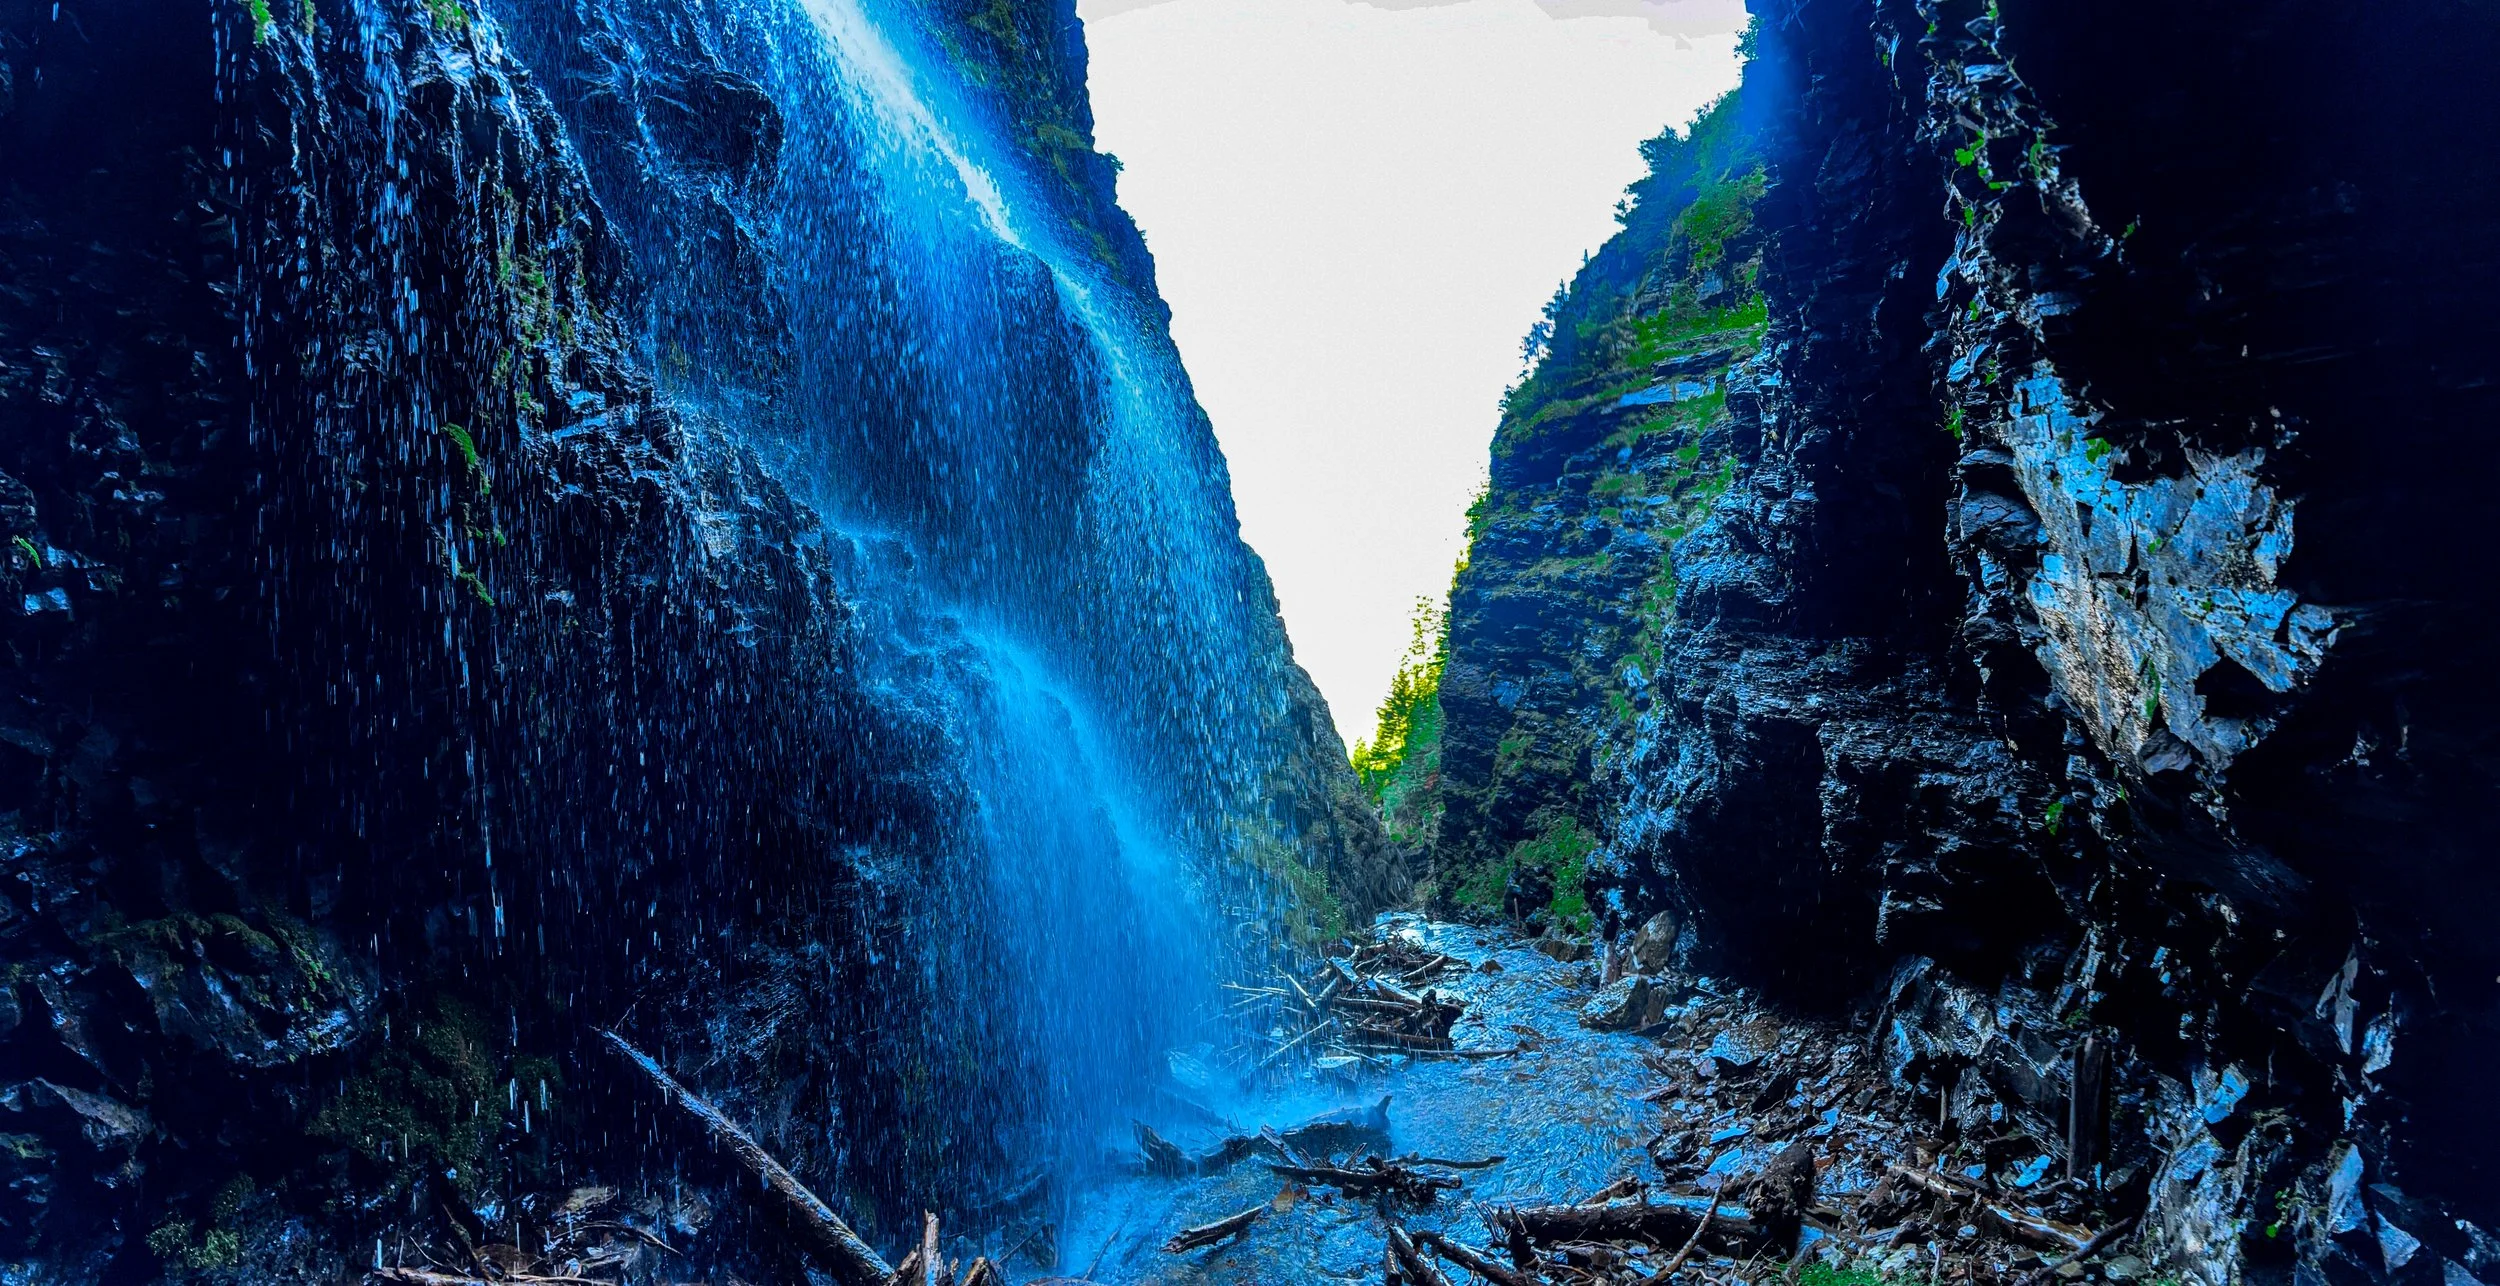
Welcome, to the journey that will take you through some of the most wonderous and unexpected corridors, hallways and cascades Montana has to offer. Inside this canyon, vegetation grips to life on top of intricate pocket gardens far above the waterline; while crystal clear spring water cuts through the deep reds, roses, and turquoise stained stone. Here, something of fantasy lays at the bottom of your rope. Mystical and yawning it whispers to the bold and the cold. Come experience a canyon unlike anything you have ever done and ever will, but be careful… it got its name for a reason after all…
Stats:
Technical rating: 4C2 IV R***** (V5A3 IV R*****)
Time needed: 10 - 16 hours.
Number of rappels: 19+
Number of downclimbs: (lots of small boulder hopping)
Longest rappel: 180ish
Distance round trip: 10.16 mi
Elevation gain/loss: 2,562 feet
Significant hydraulics: Flow constriction concerns and one undercut recirculating hydraulic.
Special recommendations: Bring bear spray as you are traveling through dense grizzly bear populations the entire time.
Season: Mid July - September
Getting there:
From West Glacier: Immediately jump onto Going to the Sun Road (Glacier route 1 road) and follow it over Logan Pass and next to the great Saint Mary’s Lake. Enjoy the views, you follow this road for about 35 miles to your destination. Expect delays, going to the Sun Road isn’t exactly a fast road.
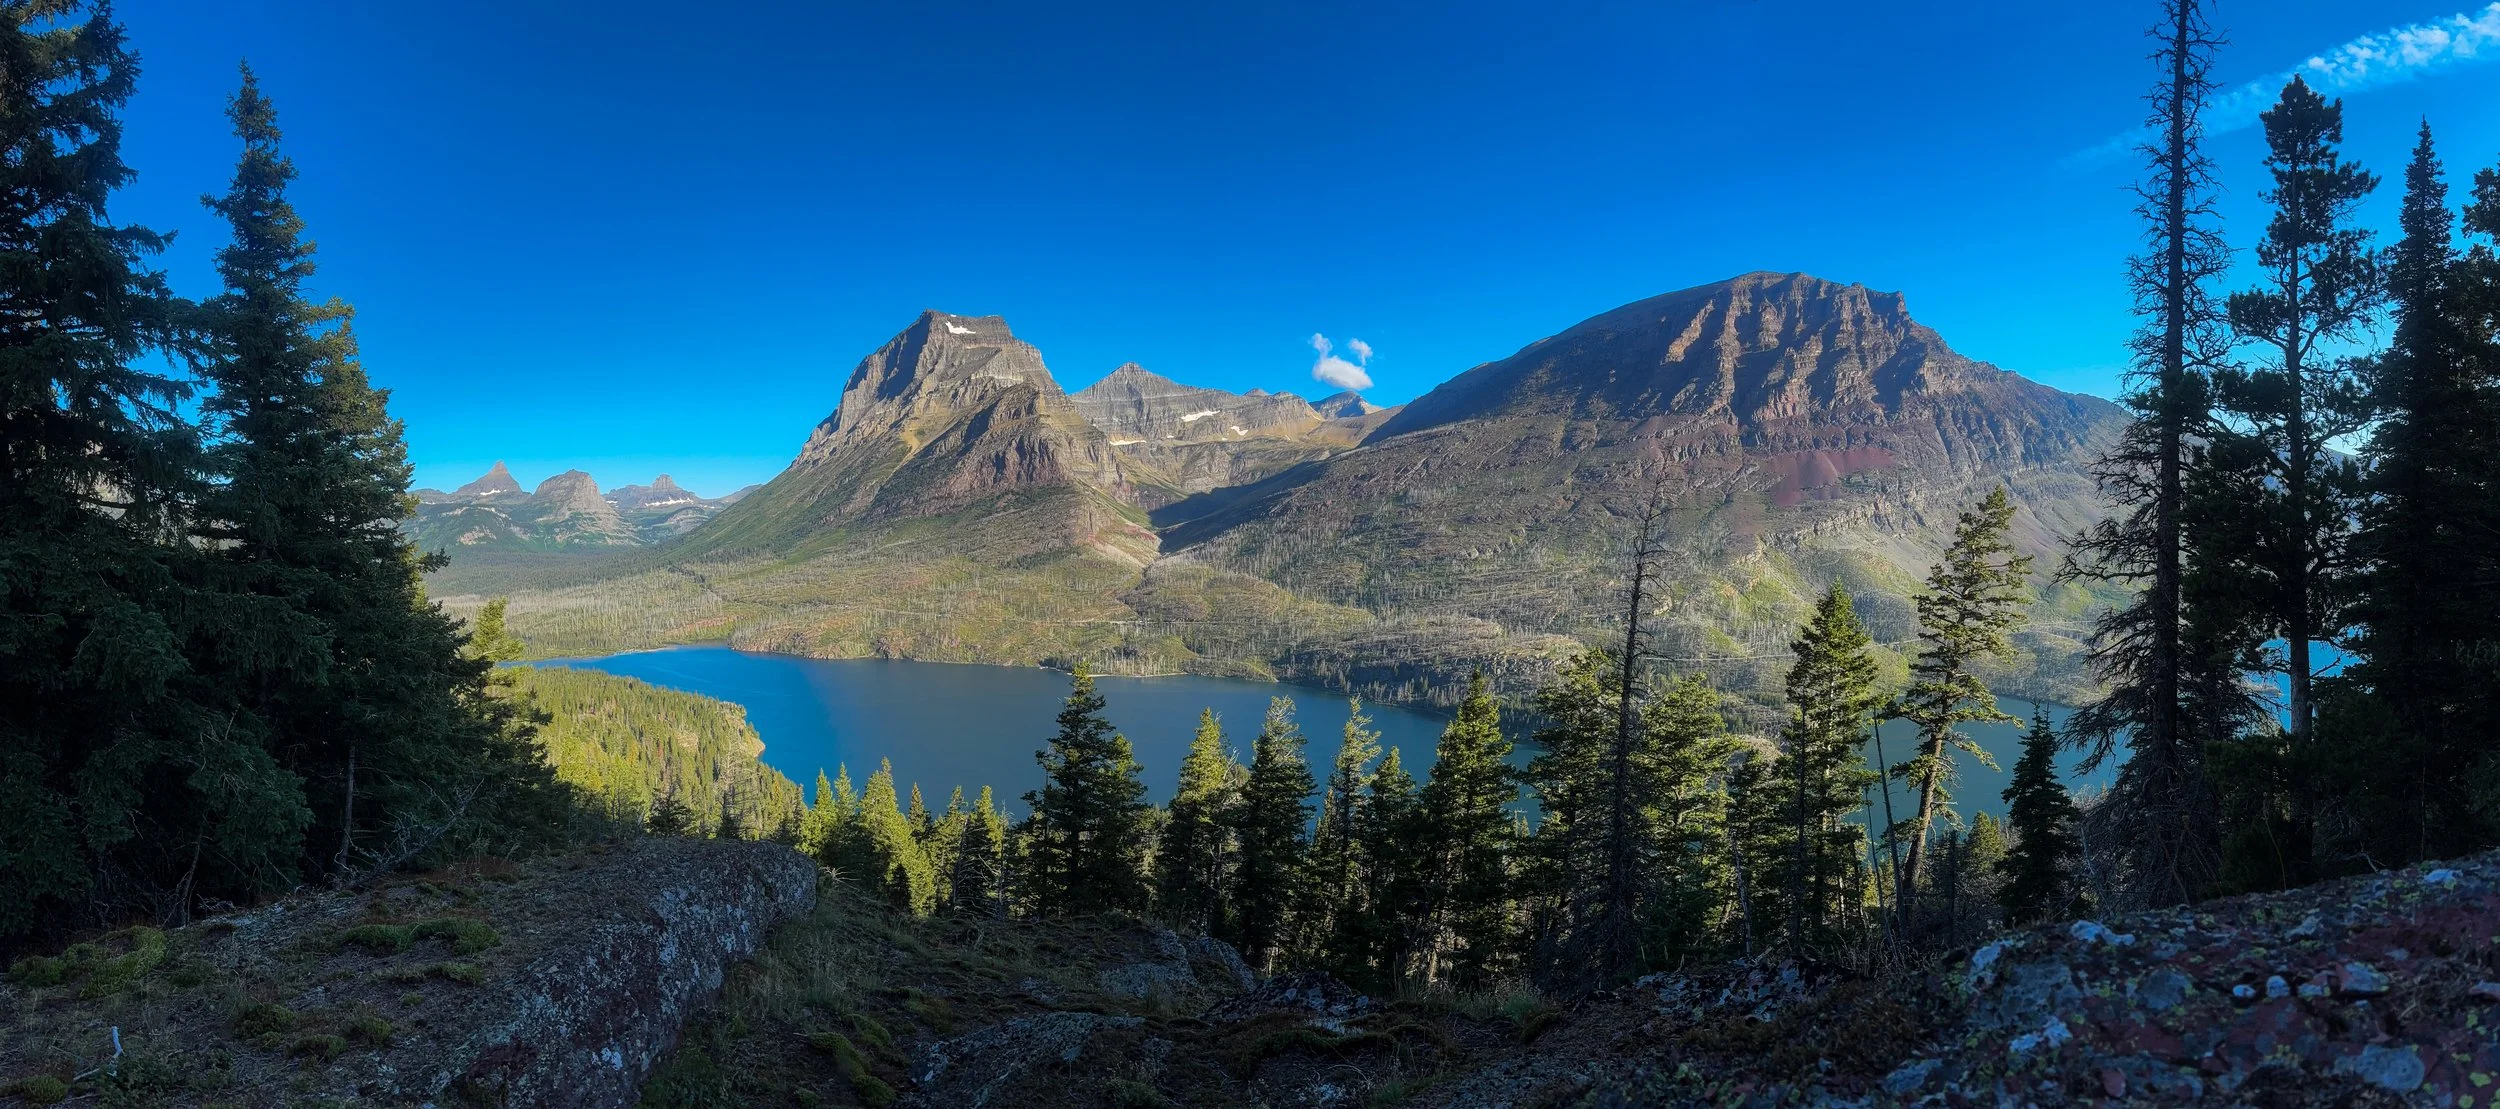
Once over the magnificent Logan’s Pass, Saint Mary’s Lake will appear to your right. The views would be incredible if you weren’t driving in the dark. But you are, because you are doing Pandemonium, and that means you have a 5 AM start.
Eventually, pull-offs will begin to appear on your right side after you pass Siyeh Creek. Continue passed Piegan Pass’s pull-off and continue towards the lake.
There is another pull-off right before the bus stop for Virginia Creek Falls and Sunrift Gorge. This is the one you want. It is at: 48.67385, -113.61430.
From Saint Mary’s: Go through the park’s entrance and follow Going to the Sun Road 11 miles. Take note of when you pass Sunrift Gorge.
Parking will begin to appear on the left side. Ignore it until you pass the shuttle pull-off. The following pull-off on your left is the one you want. It is located at: 48.67385, -113.61430.
Yay, you’ve made it. There is plenty of suffering ahead.
The Approach
Many approaches can make canyons feel miserable or not worth the squeeze. I can assure you, this one is going to make you question why the hell you even participate in this sport. It is so bad that you may send me hate mail. Joke's on you, you’re the buffoon listening to some blog on the internet. I want you to remember that when you are on the god-forsaken ridge, wondering how .4 miles has taken you 2 hours.
Anyhow, from the pull-out. Grab the social trail that has developed next to the road and follow it towards the shuttle stop. After about 300 feet of walking, this social trail will split, bank right, and follow it down into the burn below. This trail is a shortcut and will deposit you onto the main trail. You will quickly run into a split in the trail. Read the sign or take a left and go towards Saint Mary’s Falls/Virginia Creek Falls.
A half mile later, you’ll cross a bridge over the mighty Saint Mary River. Behold its bellowing falls. Neat!
Continue towards Virginia Creek Falls, the trail will parallel the creek with many cascades that will get you excited for the day ahead.
Just short of a mile later, you’ll pass over a bridge and see Virginia Creek Falls, sweet! Follow the trail left and pass the outhouse pull-off.
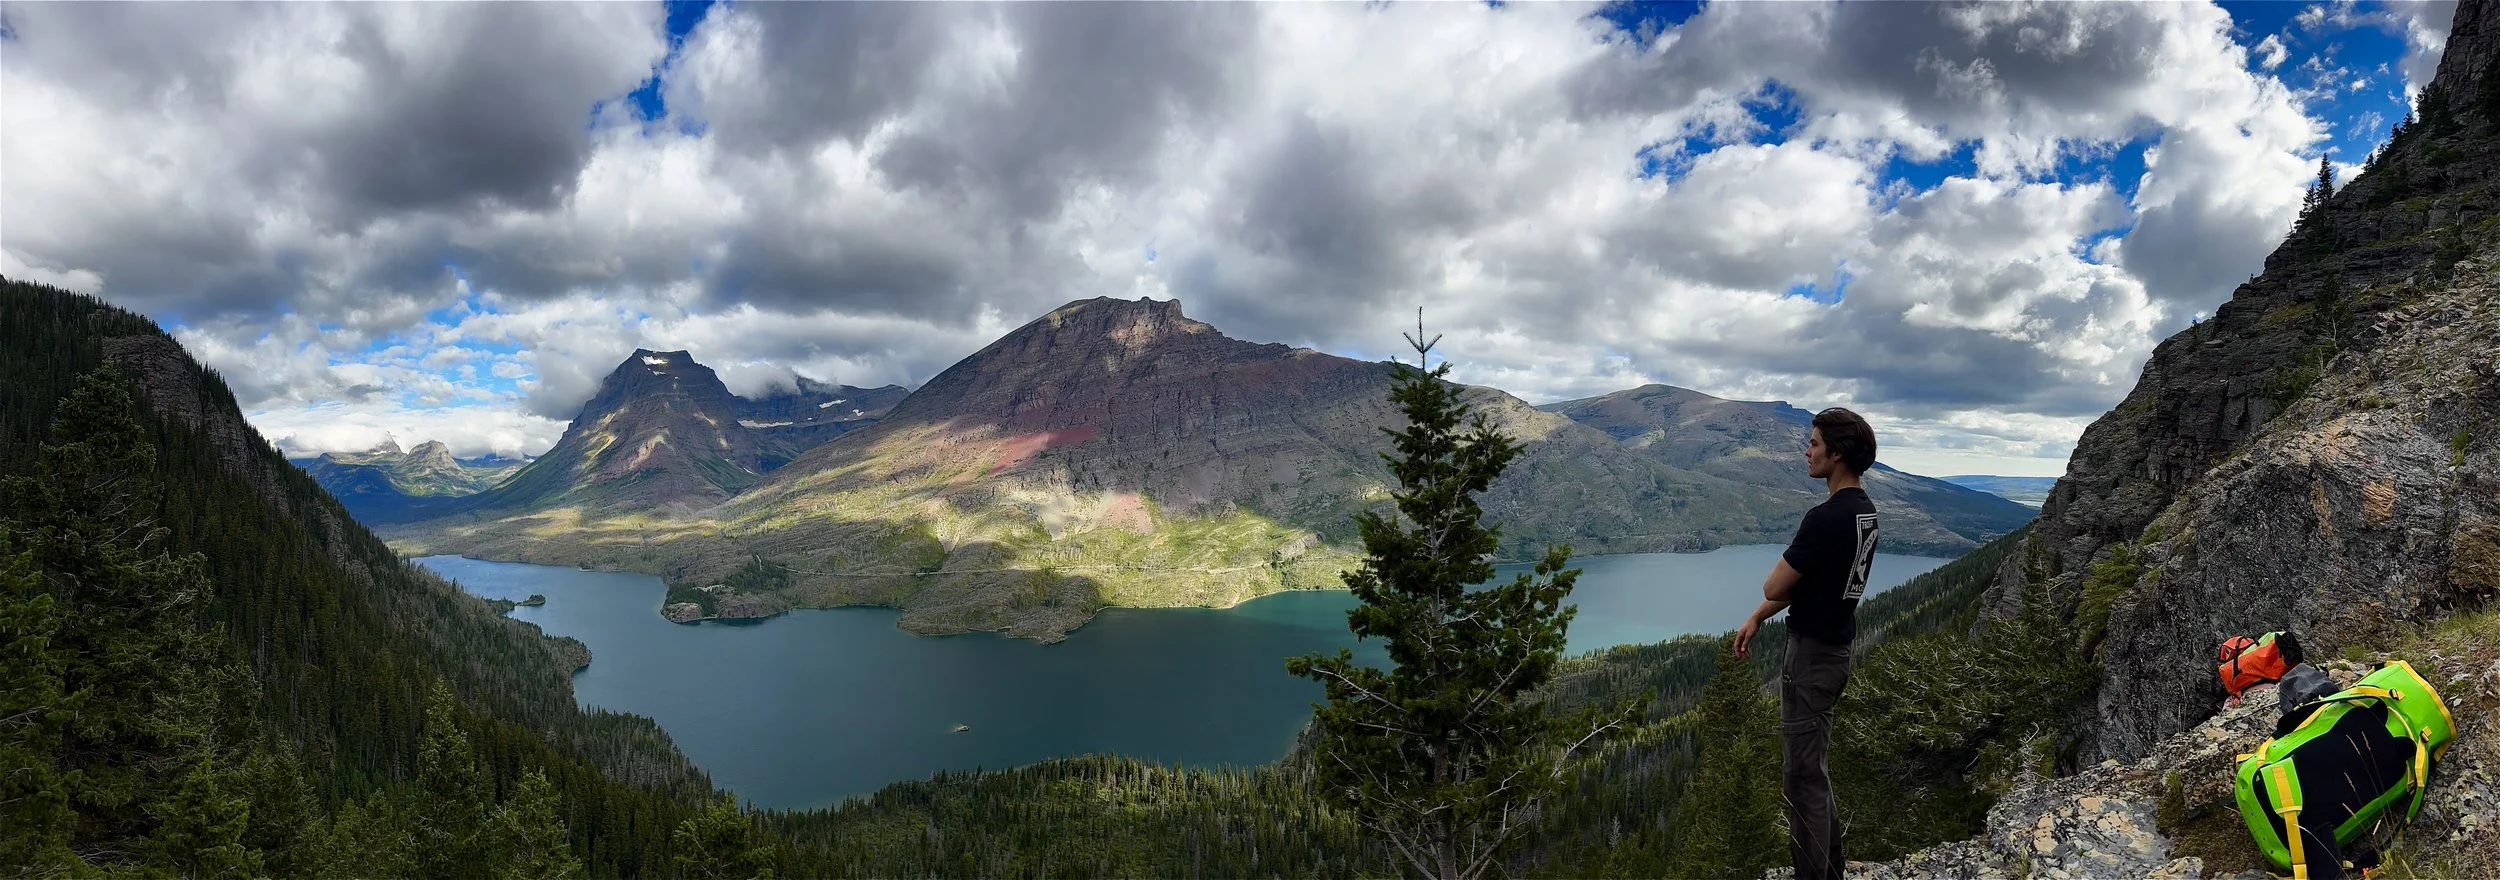
Soon, the trail will begin to become overgrown with thimbleberries, eat your way through the jungle while listening to CCR for about 2 miles. As you walk, you’ll begin to see a peninsula jetting out into the lake. Attached to it is a ridge that goes up to Mahtotopa Mountain. That is the hole you are about to dig and sit in for the next 2 - 3 hours. So enjoy your “cruiser” of a trail.
Once you reach 48.66988, -113.58095, you will see that ridge I mentioned on your right. It doesn’t look bad right now, but the slow burn has just begun! Follow the track I have provided as you try to stay on the rocky outcroppings and out of the brushy deadfall. These rocky outcroppings give a sense of hopefulness that will later be pulverized by obstacles.
Pick your way, trying to avoid the worst of the deadfall. Eventually, you’ll see a beautiful meadow above you that is right below a cliff band. Make your way towards this oasis.
Once in the meadow, you and your crew will find that it is not an oasis at all, but a hell meticulously created by the gods above. Depending on how good friends you have, they may not strangle you right then and there, but don’t worry. They’ll get there.
As if it wasn’t obvious, do not go into the impenetrable wall of brush. Instead, follow it on the left side just inside the tree line. Stay in the trees and follow the same ridge you were following before. Lodge pole branches will tug at your gear as you try to stand on the deadfall and push through the light brush.
After a bit, the ridge will begin to get steeper, brushier, and just overall more unpleasant. Somewhat like having a conversation with someone from the West Coast who loves IPAs and has a golden retriever named “Quickdraw". Shoot me.
Fight your way through the minor cliff bands, taking breaks as needed and traversing left. There is a sweet spot between where the ridge cliffs out. You are trying to find that.
After an hour, or two, or three. You’ll find the deadfall disappears and alder bushes begin to take over. Push through it and try not to think about how playing in traffic would have been a better alternative for the day. Eventually, after a long fight, you’ll arrive at the ridge. Congratulations! The first and second parts of the approach are over! Dress your wounds and enjoy some huckleberries. The worst is yet to come. It gets worse before it gets worse after all.
Once your group has decided that they can be off suicide watch, it's time to jump out of the frying pan and into the fire. The third part of the approach is short, but intense, and can be done in one of two ways. I will only be giving you info on one of them, as the second (and better option) has not been done yet, and therefore has no anchors.
Make your way down to the creek below; it is a bit steep, but you are trying to get to 48.66449, -113.55904. Which is a dryish drainage. Yay. Cross over the running creek, and you will find the final battle waiting for you. Thick alder bush stands between you and your objective. It starts pushy, but quickly you’ll find that your feet won’t even touch the ground. It is diabolical. Even the sanest of bushwhackers will seethe at this short but nasty section. Eventually, you will reach the dry fall. Congratulations! The squeeze is over; now it is time for the sweet juice.
NOTE: This approach requires anchor building that has not been done by the authors. If you go into this canyon before we can go back and create a different entry sequence, you MUST have the ability to place multiple pieces of hardware in rock (And carry a 200’ +). We entered through what we thought was the correct entrance, but it was very bushy, and it is very difficult to explain the drop-in point. We also ghosted the first rappel in it. So take this all with a grain of salt. To get into the canyon, you are ON YOUR OWN.
The incredible part:
The recommended undone route: Well, assuming that you heeded the warning, you should be starting at a dry fall. This section can certainly be done without a wetsuit if one so chooses. Just throw your harness on and walk down the canyon. Soon you will run into a dry fall, which can be downclimbed on the left side. Then you will run into another; you will have to rig this one yourself. It appears that there is vegetation on the right that can be slung, or one can place hardware as needed. After this drop, you will find that the watercourse falls into a slot below and off a very large cliff. You will need to anchor this as well. Hardware is likely needed here. Below is a ledge 70 feet below you with a bolt. Our beta starts here.
The way we did it: There is a small drainage/spring that pops up at 48.66474, -113.55971. It is between the recommended route and the second option to drop in, which has not been touched and is likely phenomenal! It is brushy and will involve a down-climb onto a ledge at which a spring comes out of the cliffs. Here, there is a large pine tree that we fiddled with. The rappel is about 20 feet. Then we downclimbed to another large tree in the watercourse. Here, this tree has been slung. It is about 50 feet to the ledge below. The start is brushy and filled with loose rocks. Be very careful! This rappel will land you on the same ledge as what was placed on the recommended, undone route above. From here, I will begin the beta, which will be broken down into 4 sections:
The entry sequence: rappels 1, 2, 3, 4 & 5.
The vide noir sequence (The crux): rappels 6, 7, 8, 9 & 10.
The pandemonium slot: rappels 11, 12, 13, 14, 15, 16 & 17.
The exit sequence: rappels 18, 19 & 20.
The entry sequence
Depending on where you drop in and what anchors you use. The first two rappels are going to navigate getting into the behemoth slot. The cliff edge to the floor is about 400’. However, we broke it up into 3 rappels.
Rappel 1 (60 feet): from the slung tree onto a big flat ledge overlooking the valley. This ledge is IN the watercourse, and there is a bolt placed here. This may or may not exist, as it was an emergency placement. If it exists, break up the rappel and rig off this bolt. If it does not. Well, use your big brain and figure out a solution. You have your whole life to figure it out.
Rappel 2 (40 feet): From the bolt, do not go directly down into the watercourse. There is a ledge DCR. That is what you are trying to get to. Rappel against the fall line and onto the large slippery ledge below. Tucked near the wall of the cliff, there is another emergency bolt. Use it.
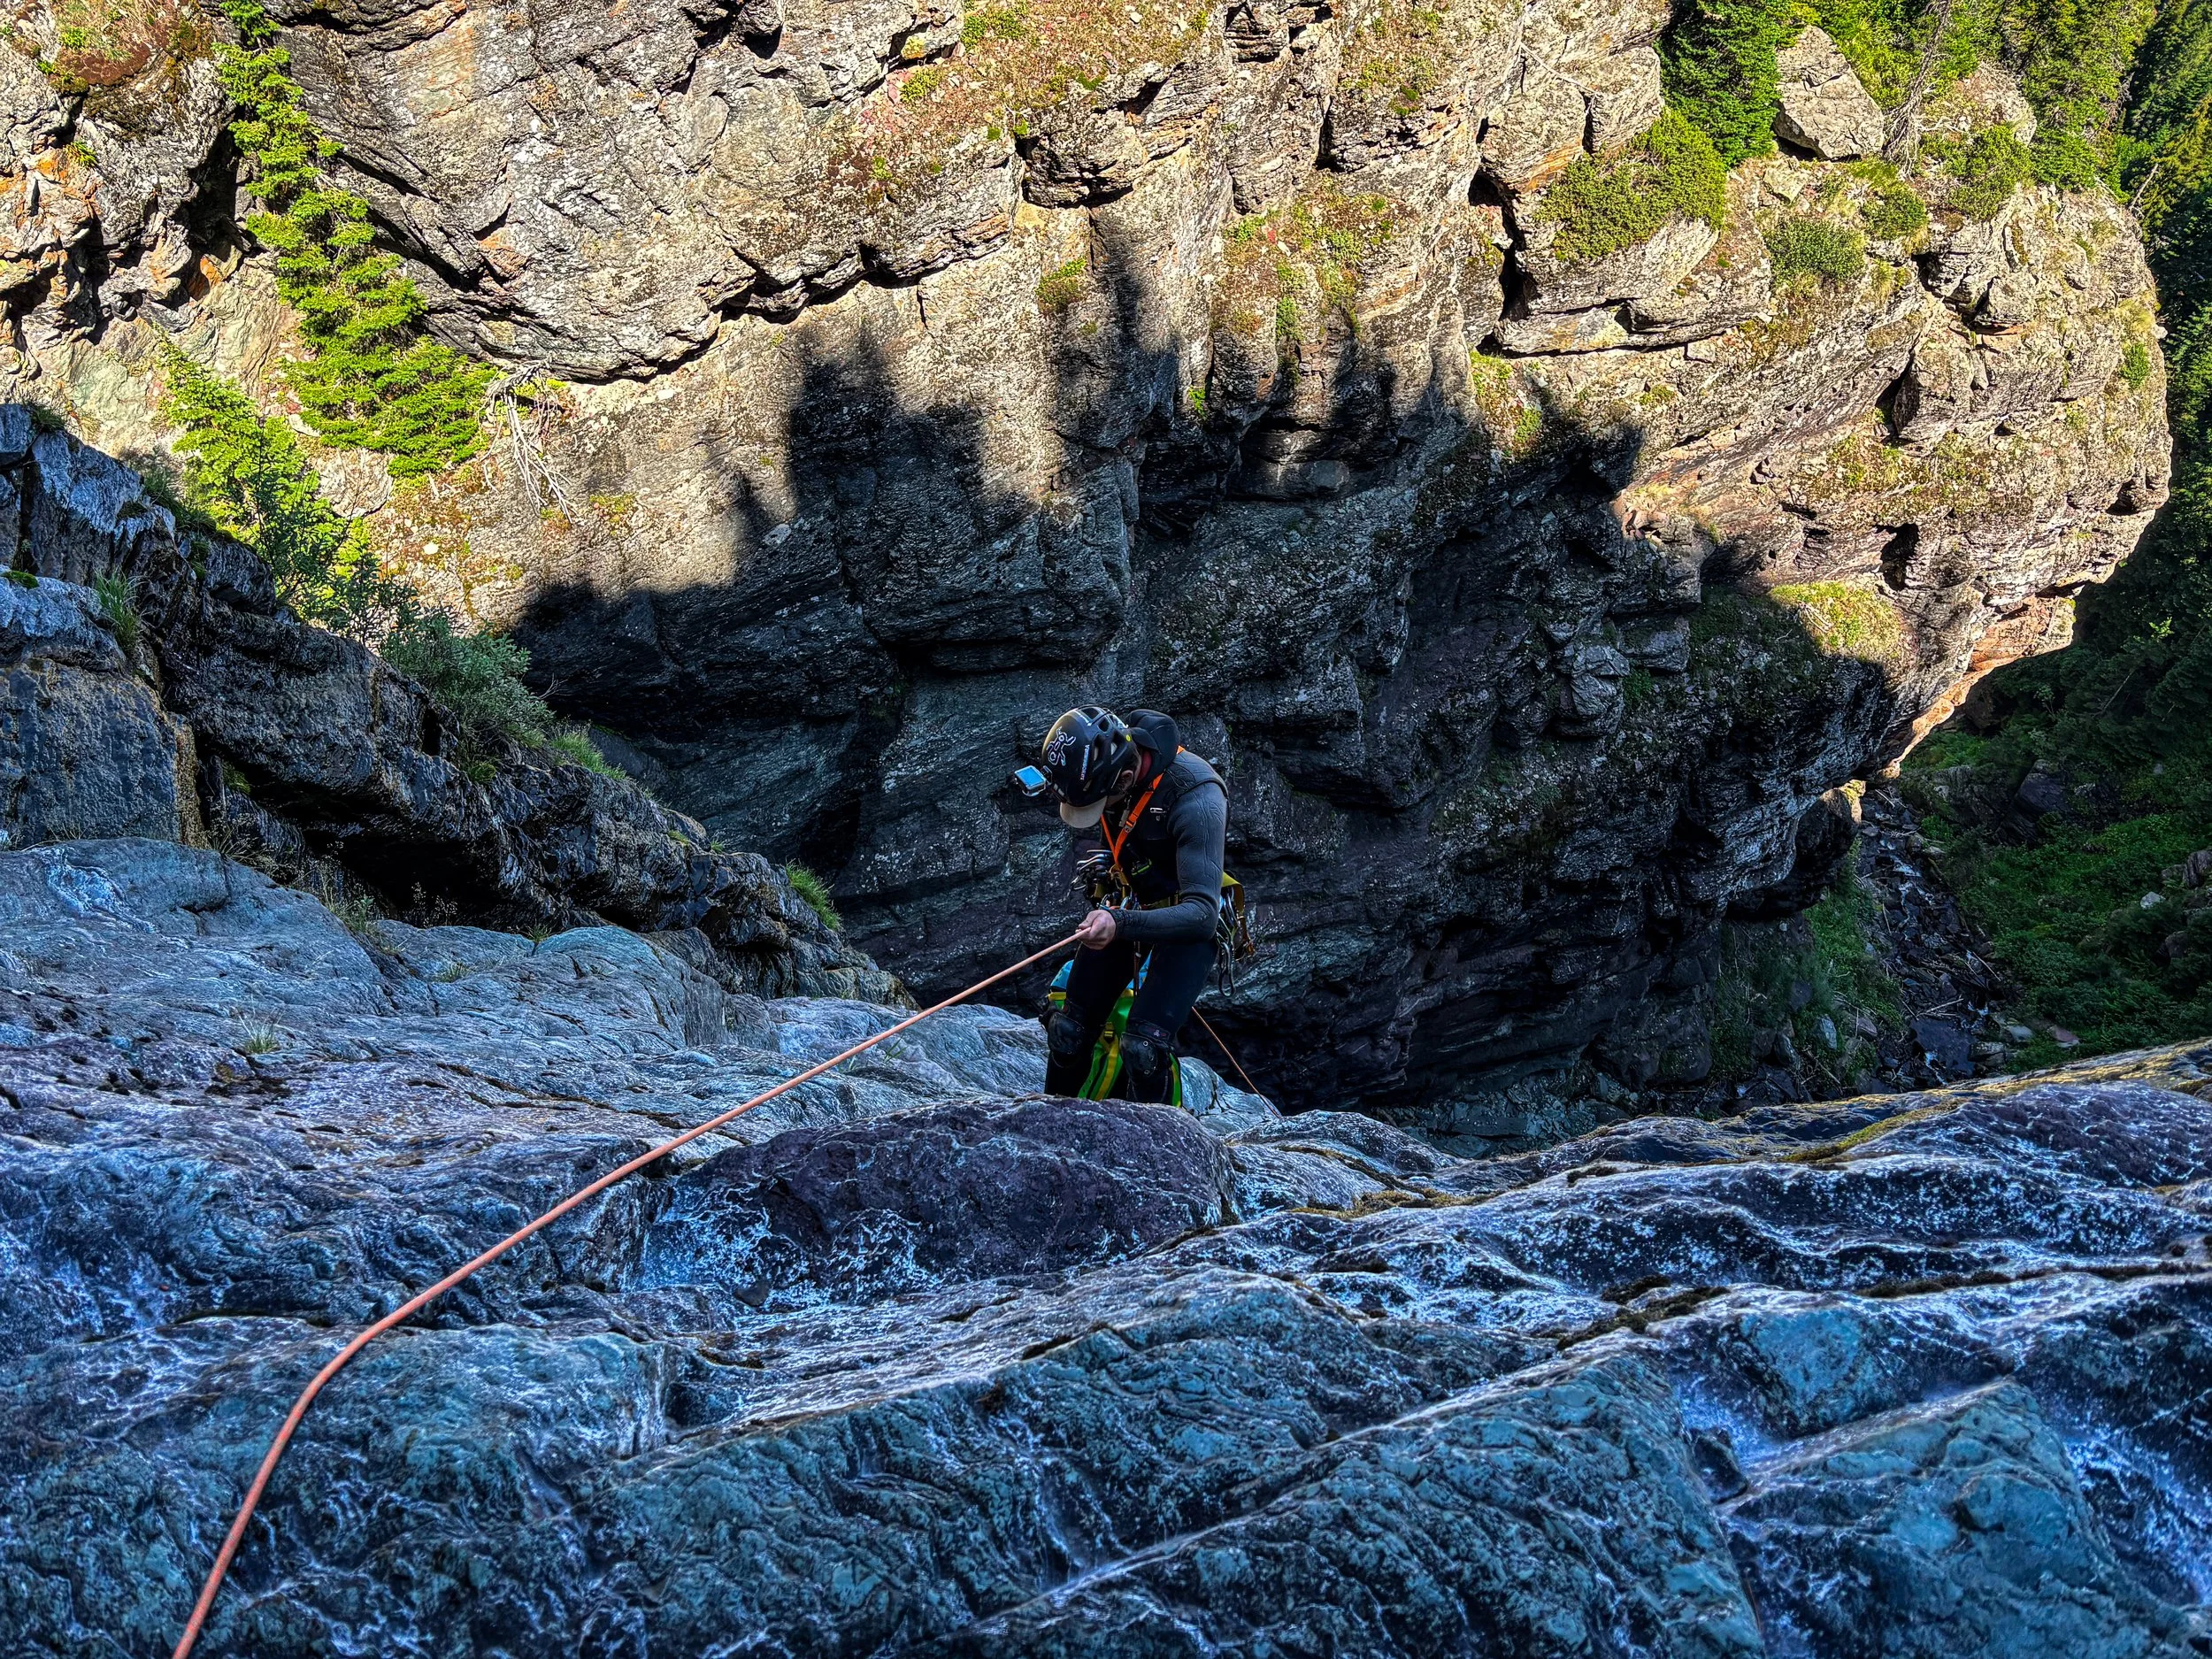
Rappel 3 (180 feet): From a single bolt down a complex face into the yawning abyss.
Once down, enjoy the impressive 180’ waterfall you missed. This will be the classical entrance; no one has done it yet, so we can all dream. Pack your rope and take your time traversing down this next section, as it is filled with very slippery boulders. A broken ankle here would be suboptimal. Continue down the watercourse as the gorge bends to your left and centers its view on Saint Mary’s Lake. Soon, you will encounter the drainage slide between two pillars of stone. This indicates the next two rappels.
Rappel 4 (35 feet): From a single bolt DCL. Please be wary of foot entrapment at the start. Then enjoy the shower that follows. This deposits you into a very pretty pocket grotto.
Pull the rope and sling the fallen old-growth log. This rappel 5.
Rappel 5 (35 - 40ish feet): Rappel down a shallow and intense slot that deposits you in a small chest deep pool. There are rocks you can stand on here; if they move, this could become a snazzy recirculating hydraulic. This deposits you into another very pretty pocket grotto, which is the indication that you have completed the entry sequence. It is time to get serious.
The Vide Noir Sequence
The Vide Noir sequence should be handled with significant care, as an accident here will likely prove disorienting, panic-inducing, and potentially lethal. This sequence gives this canyon its R rating, not because it's super dangerous (granted, it is dangerous) or particularly hard, but communication is nonexistent and cannot be mitigated. The obstacles and logistics within this section are also complicated and allow for a large margin of accidents. All of which may lead to becoming stranded, injured, or dead. Do not underestimate this sequence.
After rappel 5, eat a snack, use the bathroom, and get comfortable. Make sure to have a plan with your team long before anyone begins the sequence. Once ready, walk over to the bellowing slot below. It's time for some Pandemonium.
Rappel 6 (15 feet): Rappel off the single bolt located DCR and onto a small ledge tucked away to the right. This ledge has a single bolt and can hold no more than 2 people. Do not use the rappel 6 bolt to do rappel 7. That is a bag of tomfoolery you do not want to open.
Rappel 7 is the crux of the canyon.
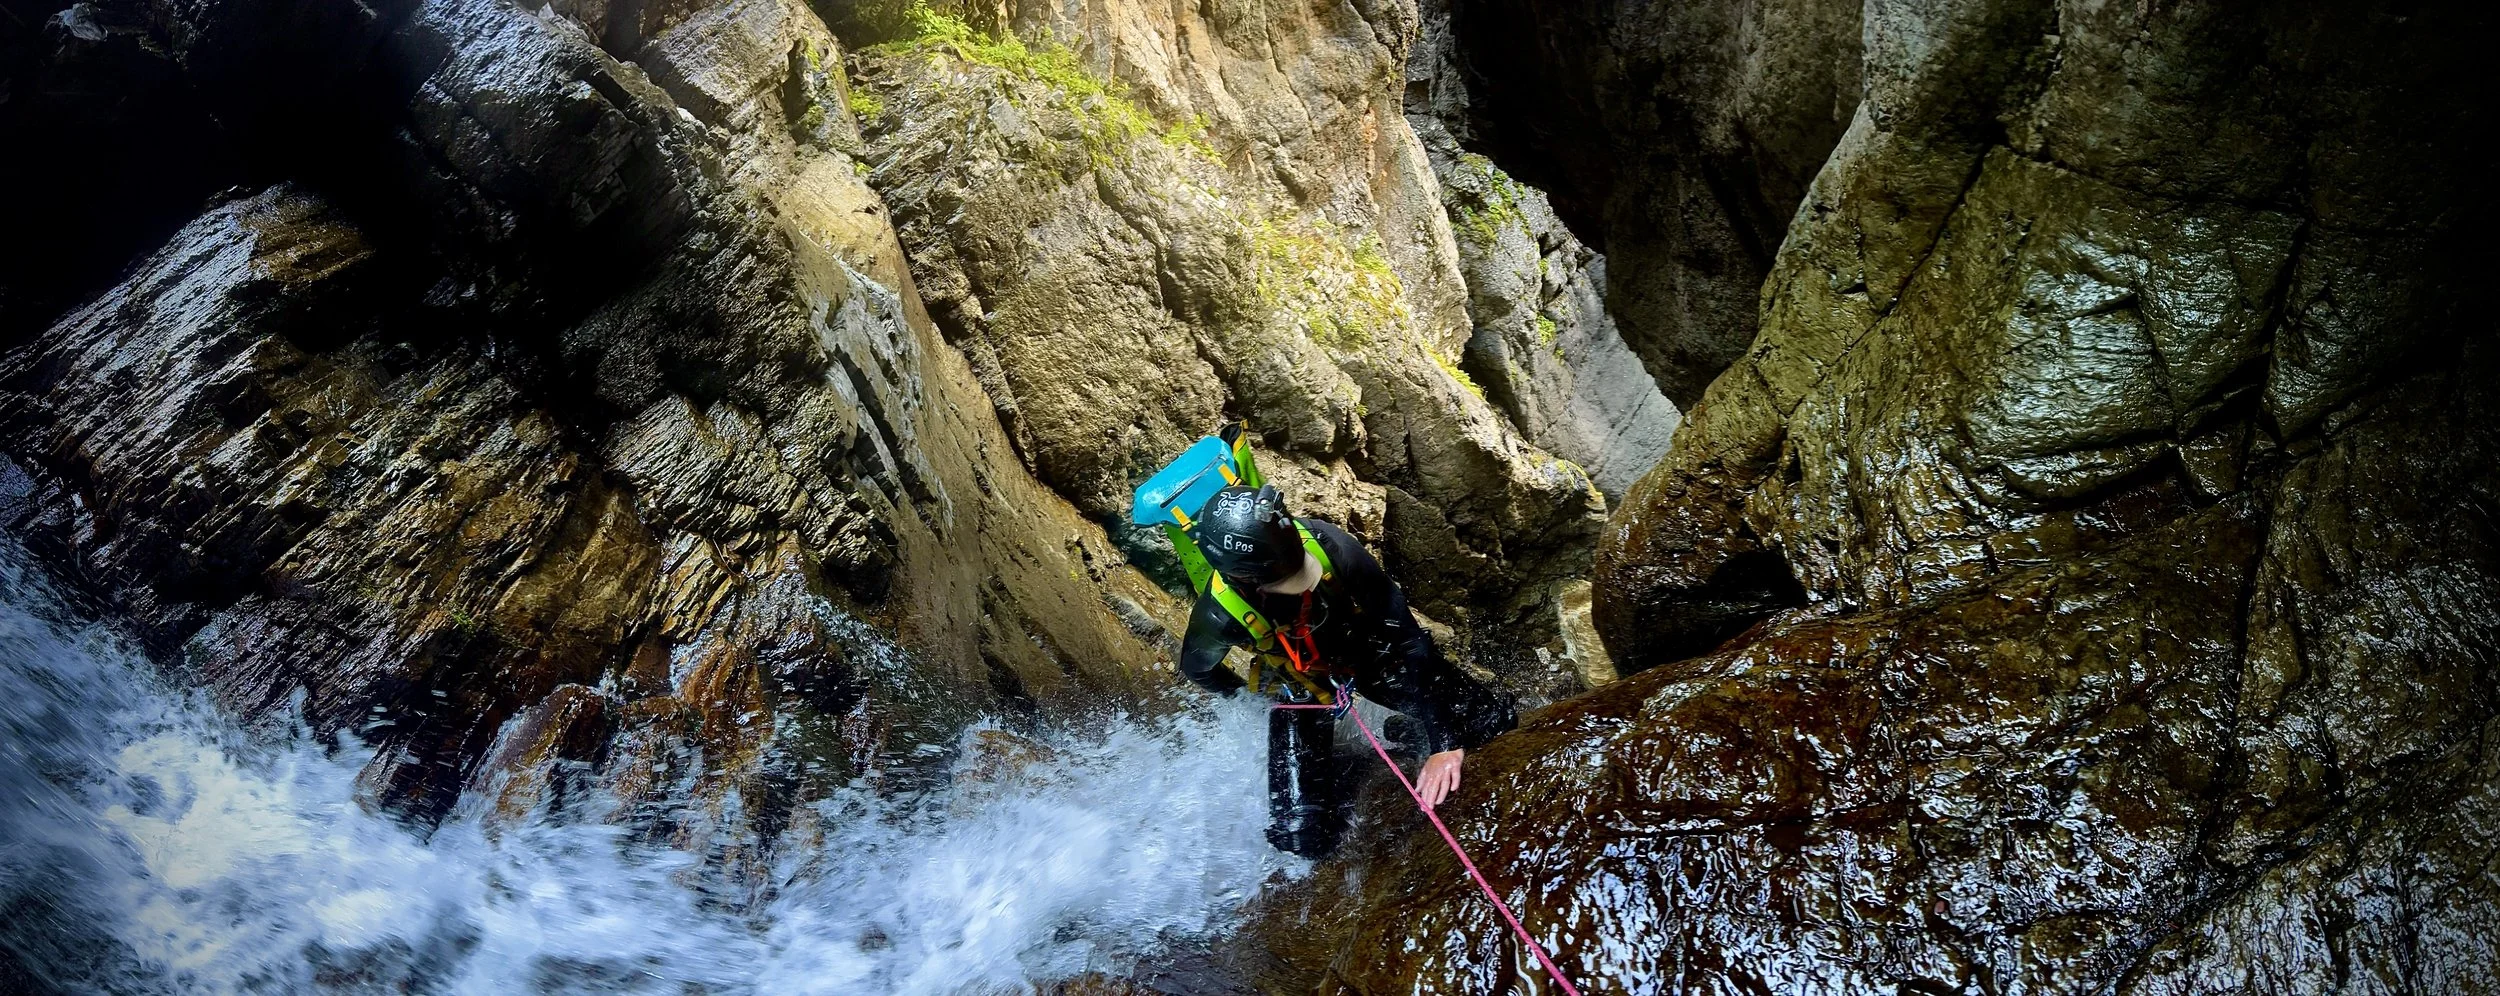
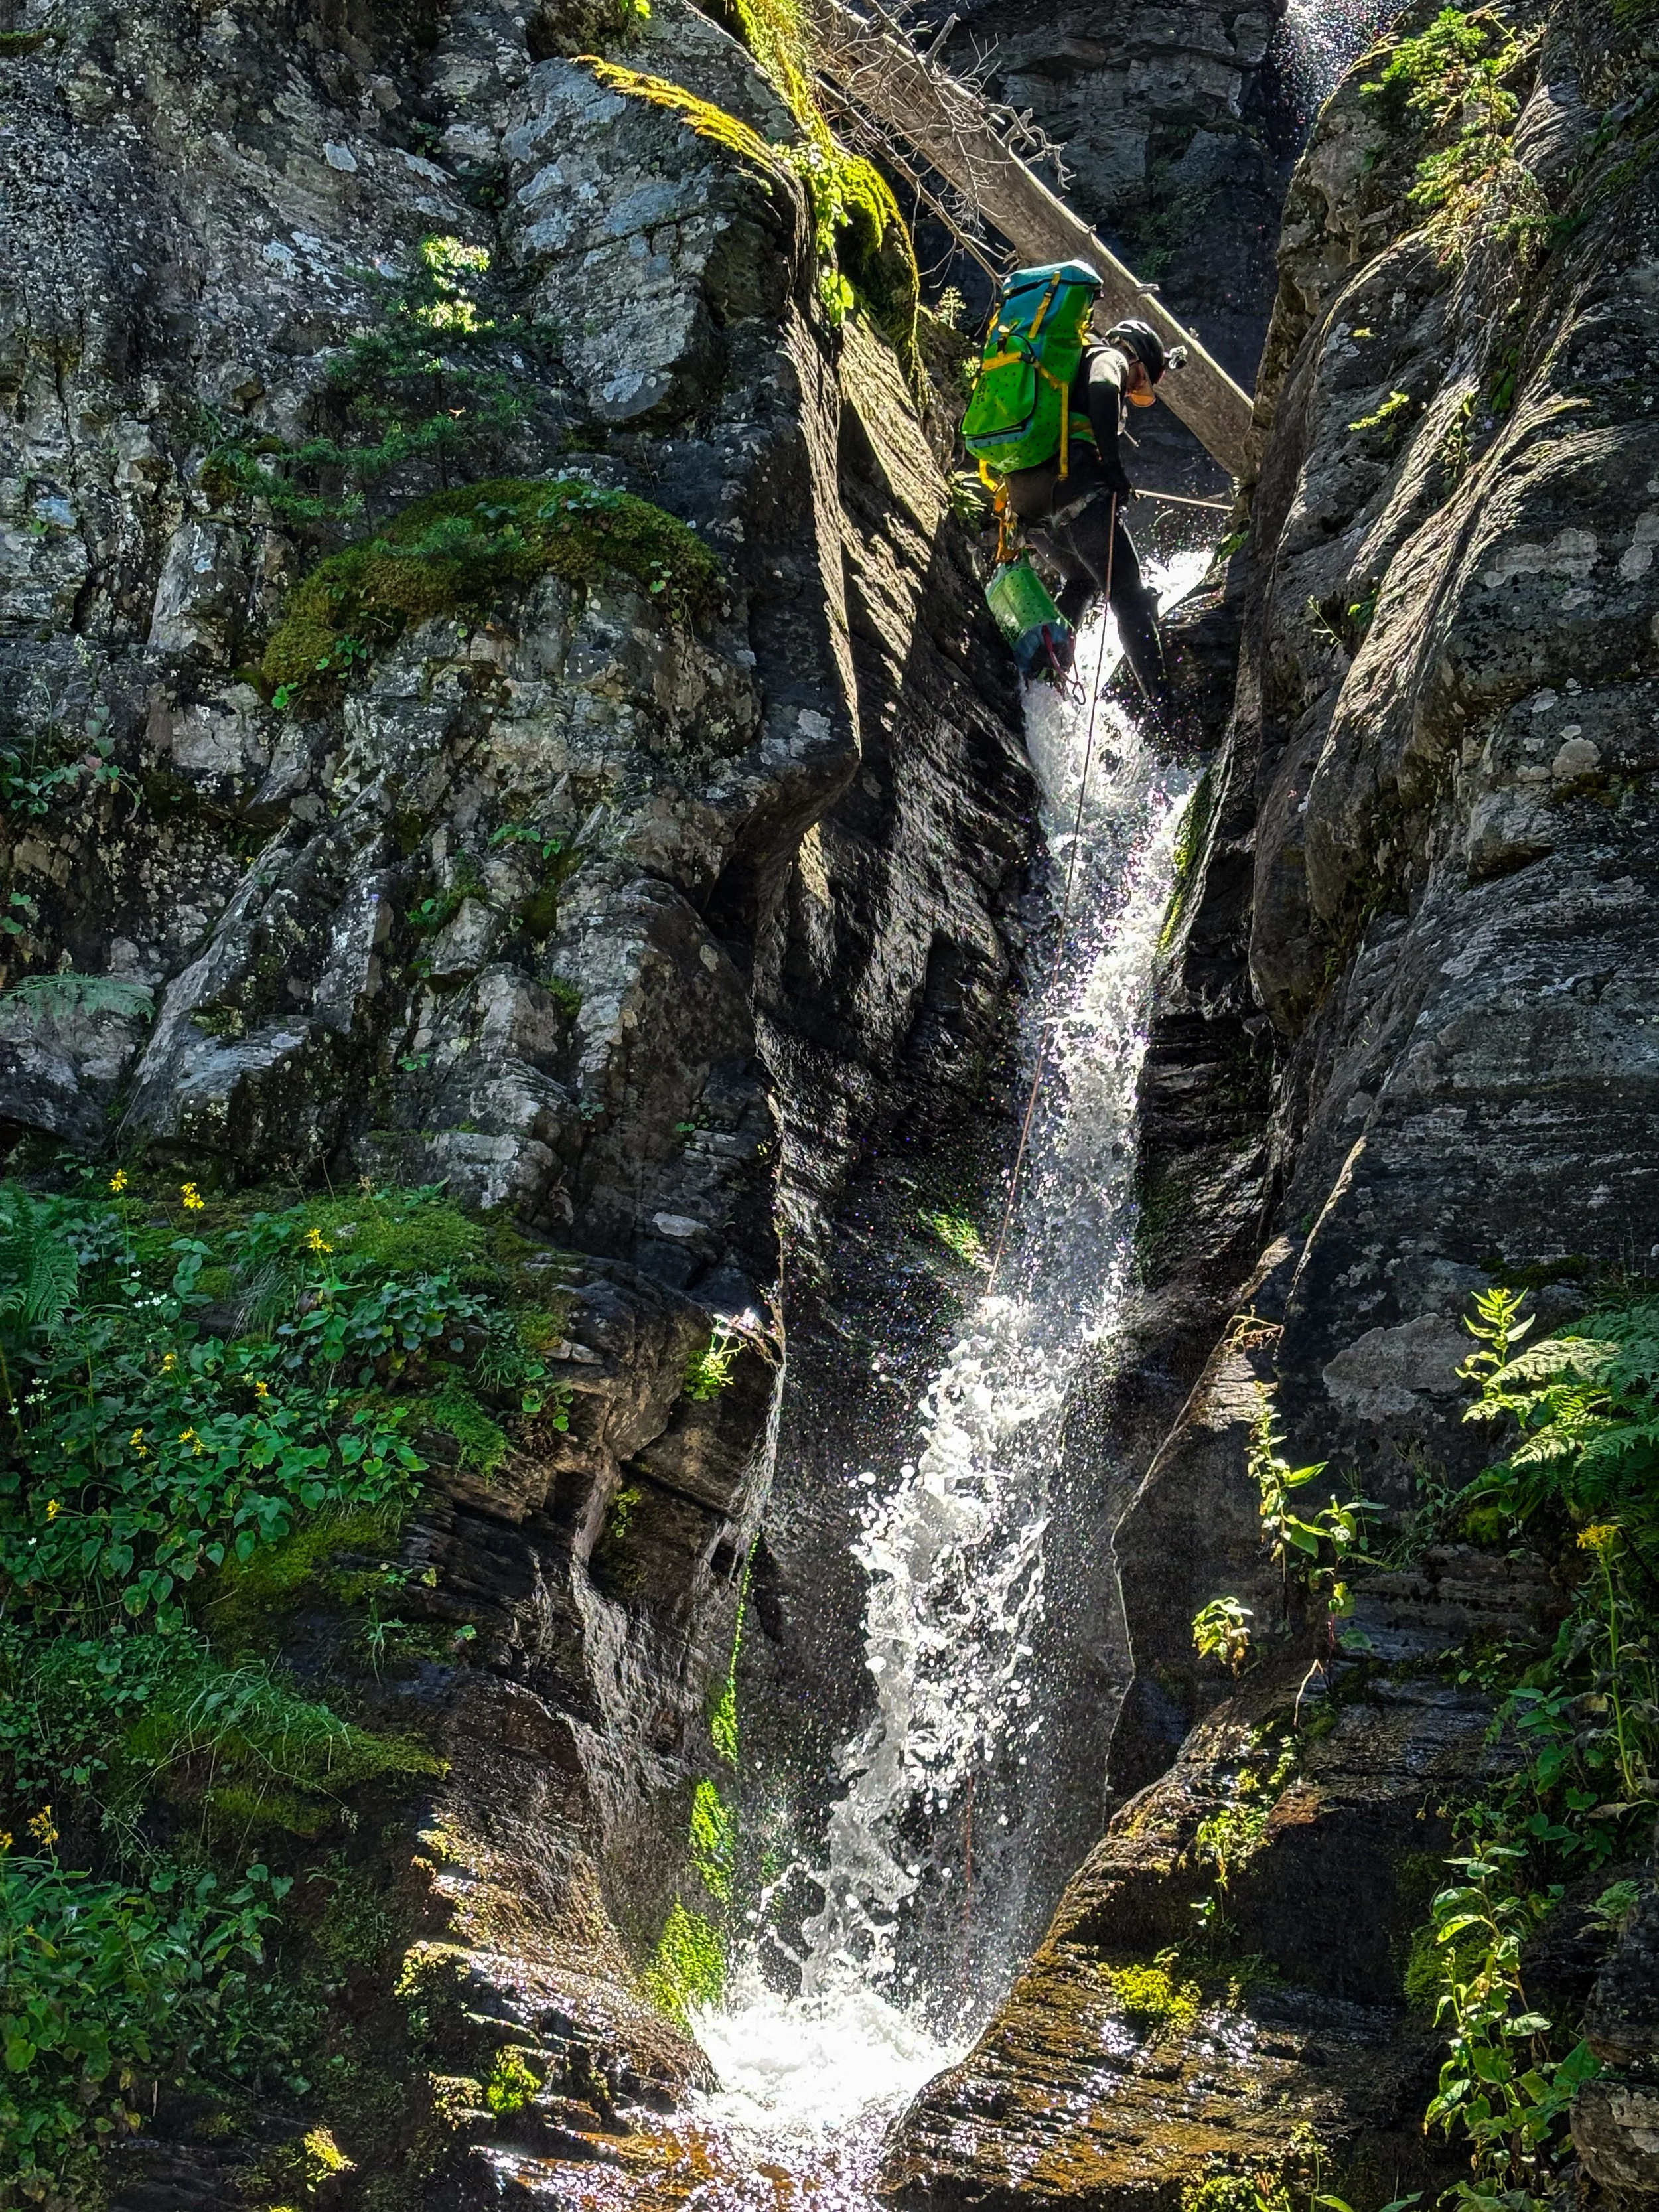
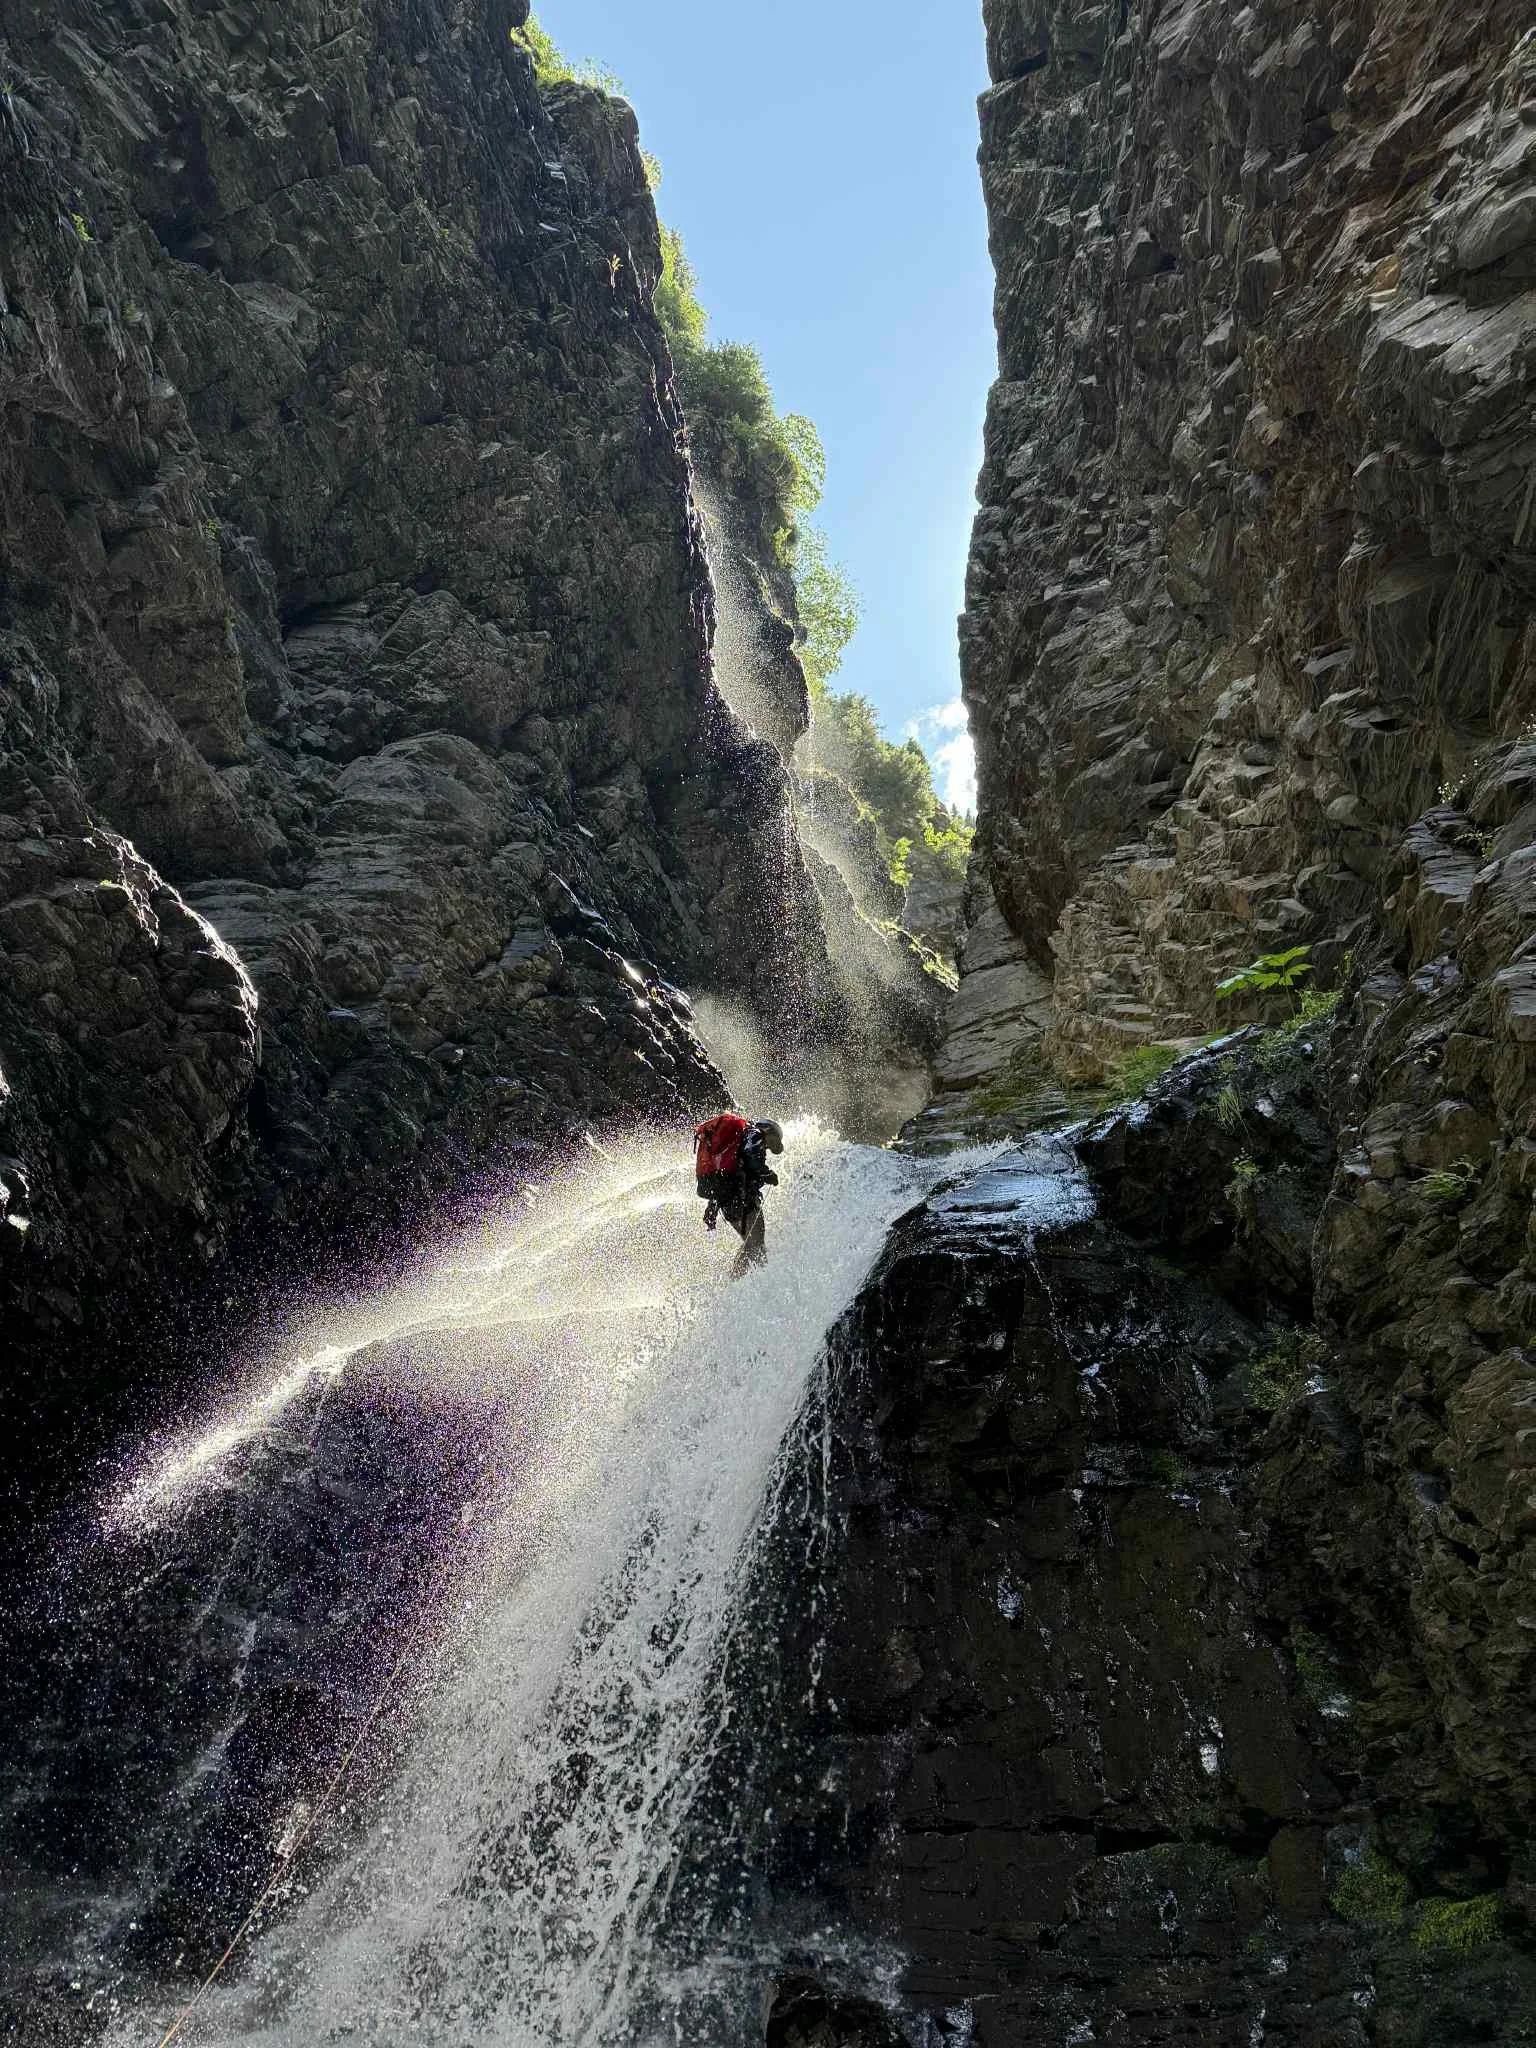
Rappel 7 (140 feet, two-stage): Rappel off the single bolt and down into the forbidding hollow below. 30 feet into the rappel, you will go into the rooster tail. While not very pushy, breathing will prove difficult for the remainder of the rappel, and you will have no line of sight. Rappel through the torrent and to the pool below. Do NOT directly enter the pool as it is a bathtub-sized, moderately strong undercut recirculating hydraulic. Pull to the rappelers left of the flow and swim/stem over to the end of the pool. Keep the rope with you, as it is not over. You will find that the edge of the pool is an immediate pour over onto rappel 8. In high flow, there is a significant risk of being pulled over the edge. Once on the ledge, stay on the rope but let out a lot of slack, as you may want to stand there to help partners out of the pool.
NOTE: There is no way to let your party know that you are safe. Due to the geometry of the canyon, there is no line of sight. Whistle communication is non-existent due to the flow, and tugging on the rope does not work due to the flow/geometry. May radios sorta work? You cannot really hear anything from the bolt station or at the bottom of the rappel. However, the sound of human jargon over a radio may indicate that the person made it down and has a clear airway, indicating survival. Long story short. You're on your own once you make it past that rooster tail.
The rappel is not over. Once on the lip of the pool, the anchor for rappel 8 is about 20 feet DCL on a large ledge. This can likely hold 3 - 4 people. Additionally, you cannot pull the rope from this platform. Due to the geometry of the canyon, the rope MUST be pulled from the bottom of rappel 8 (as it is a more direct pull). This means you will need about 200’+ of pull cord for rappel 7.
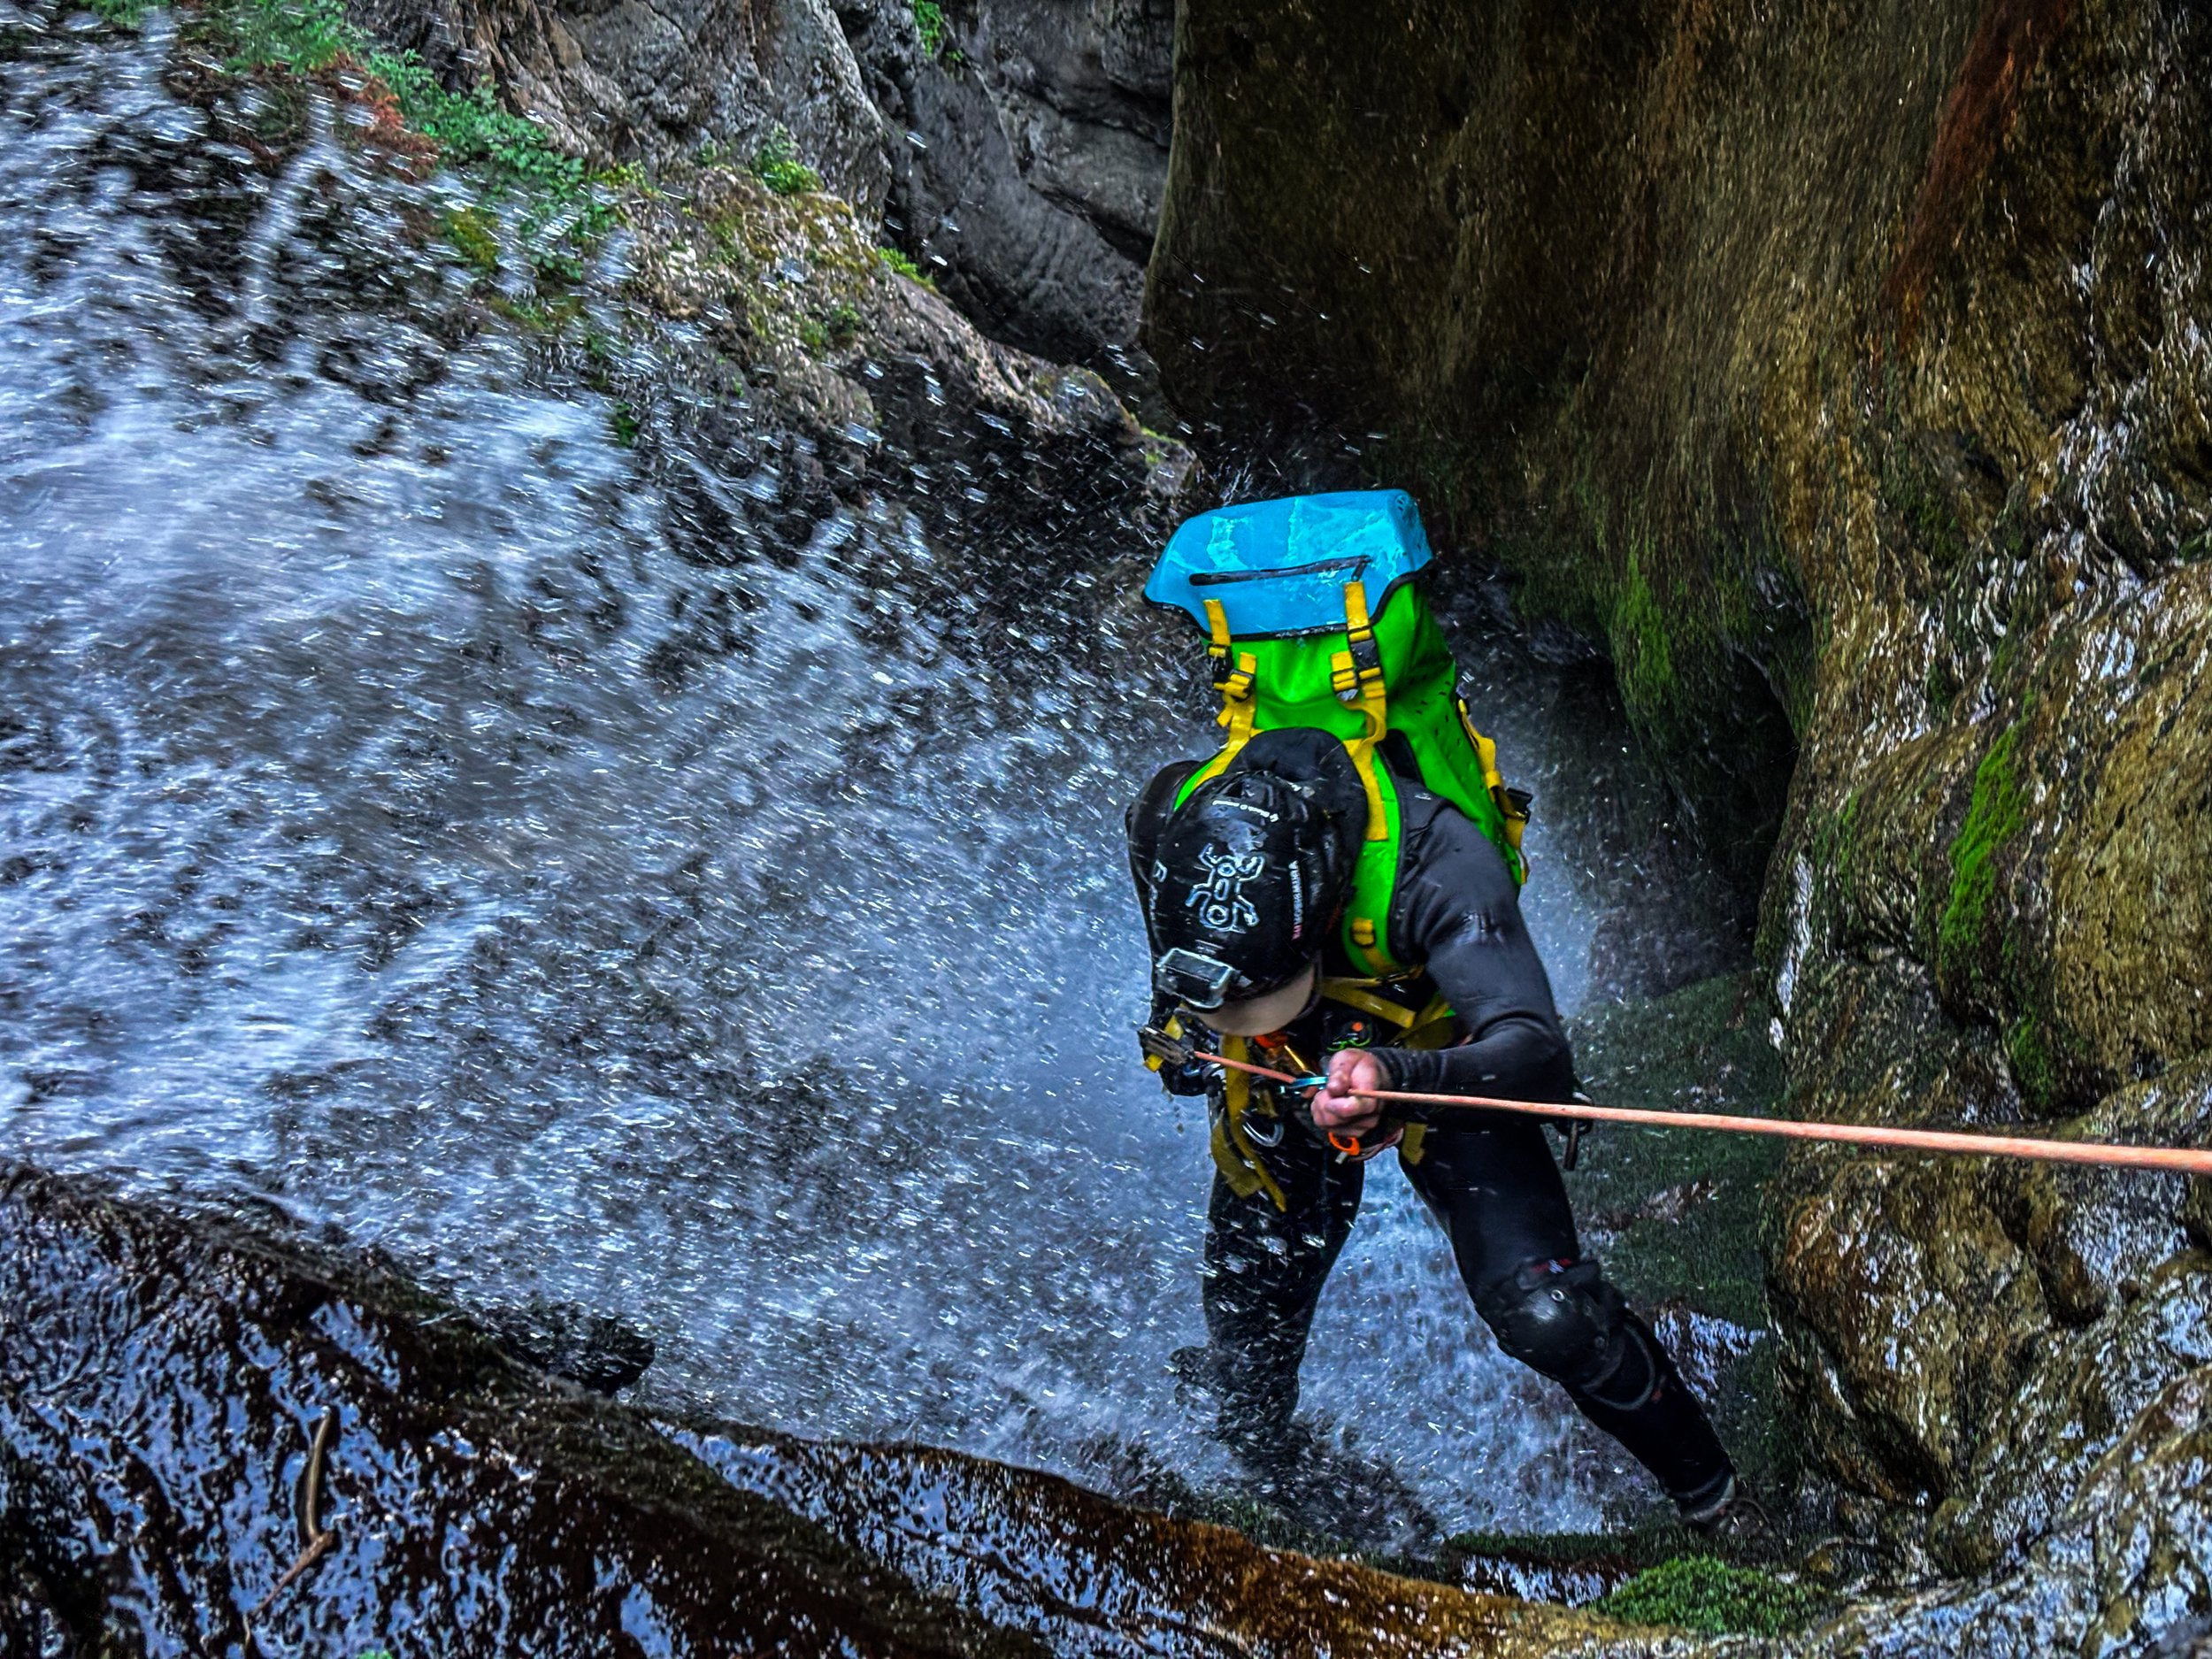
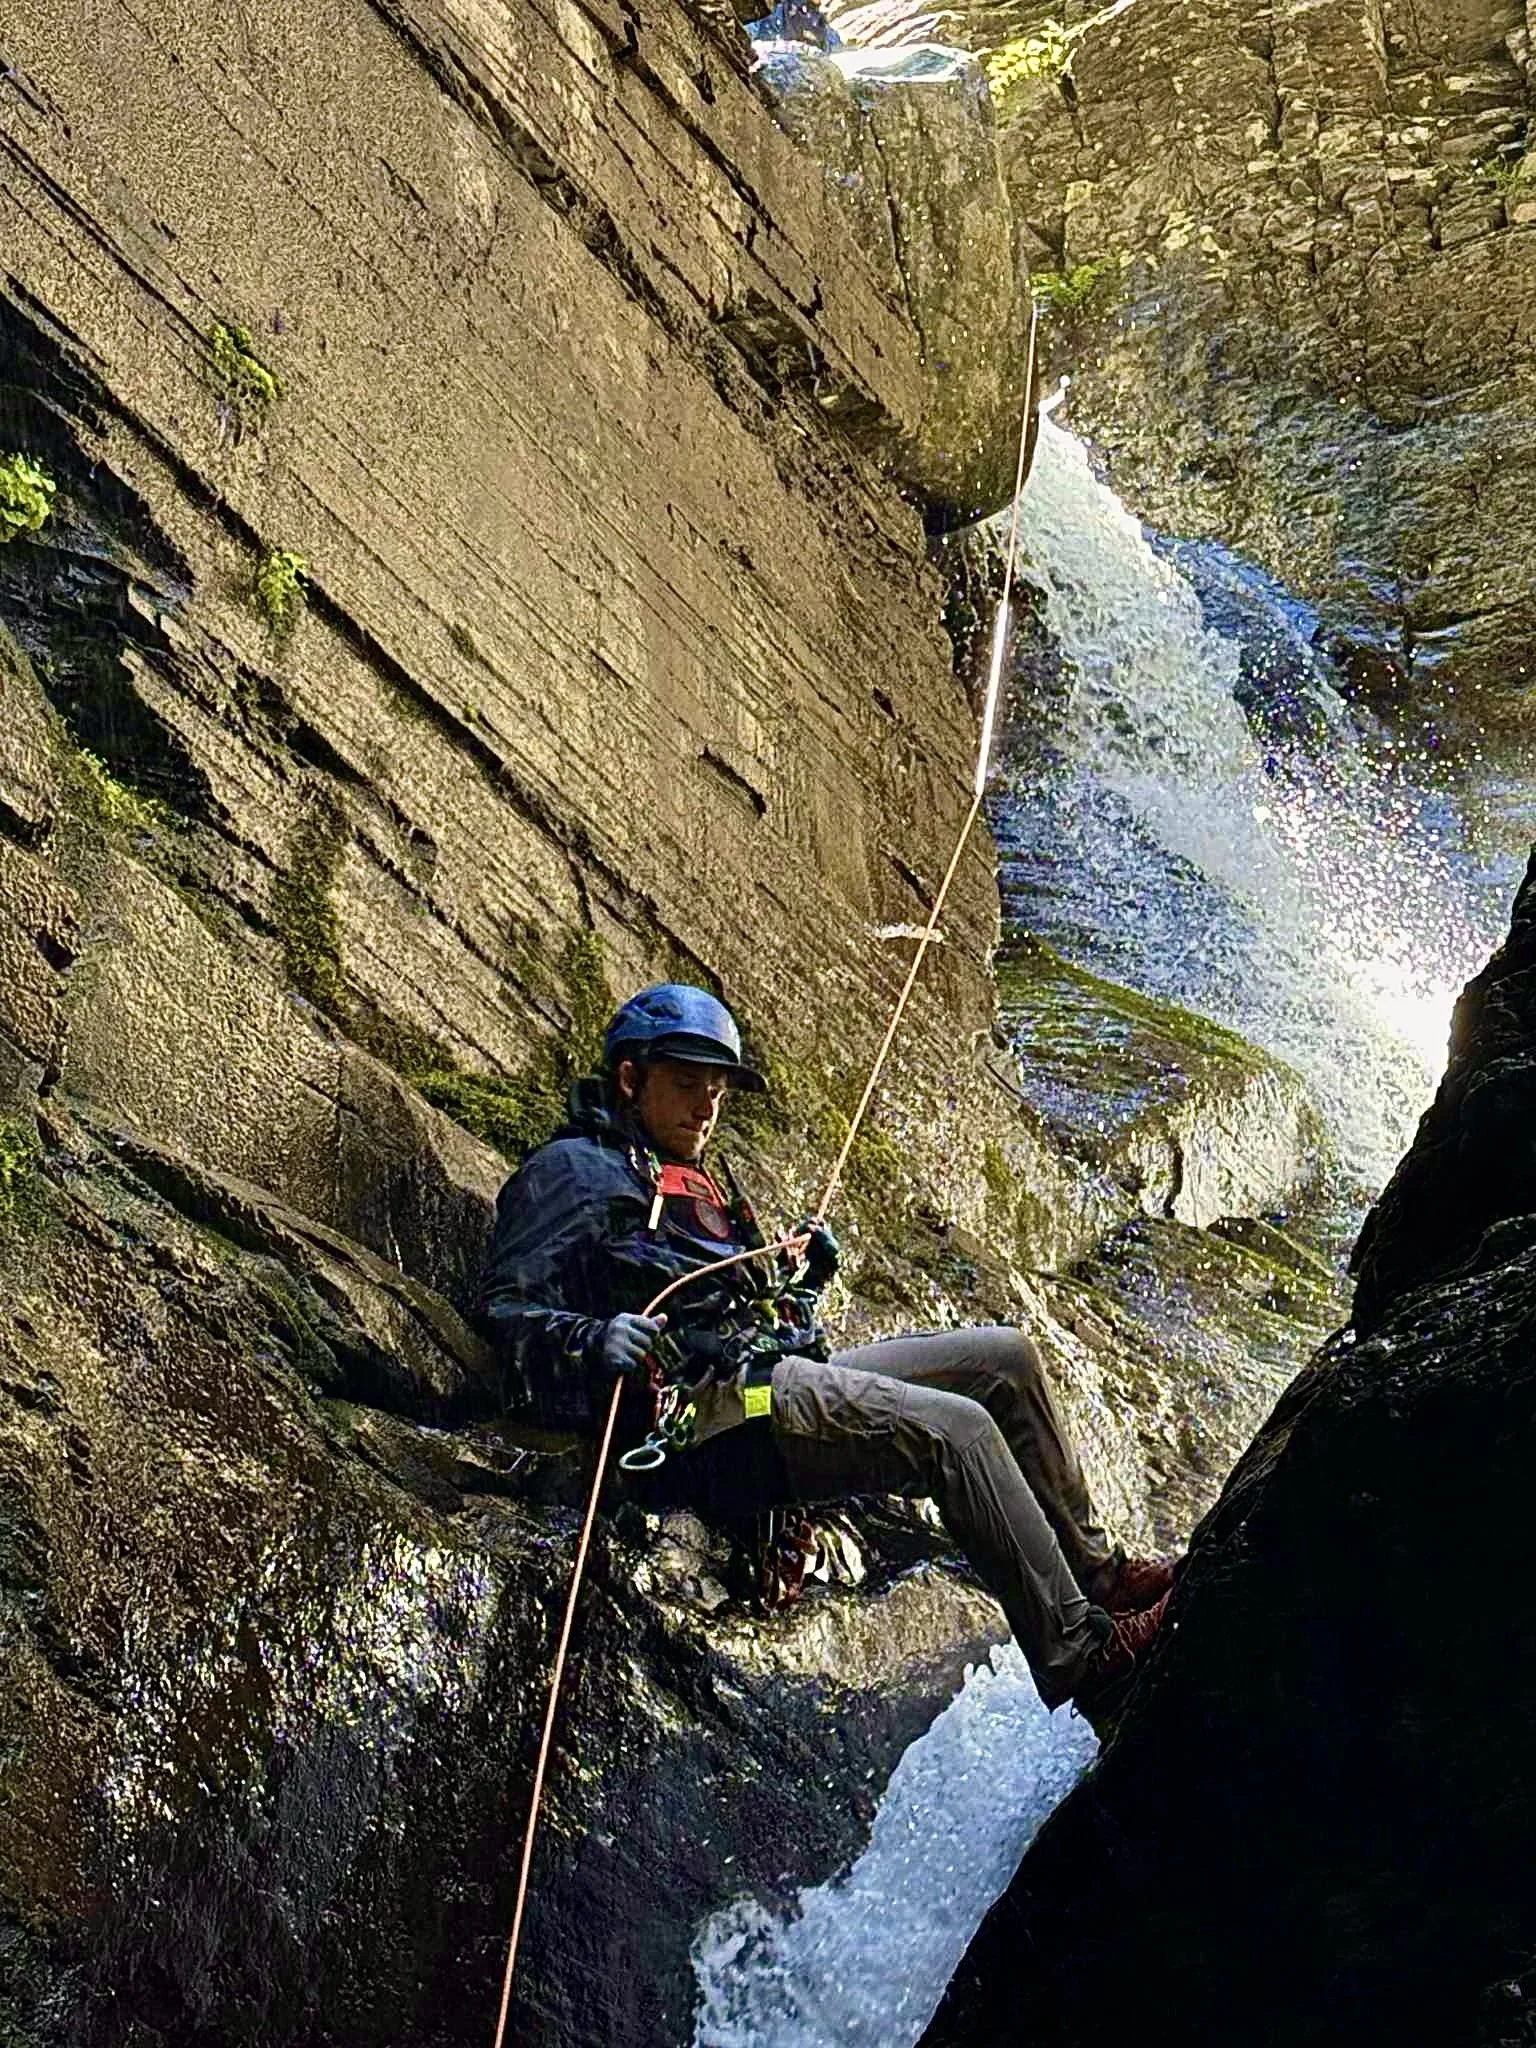
Rappel 8 (65 feet): From a single bolt on the ledge, rappel down into the flow. This rappel has a small overhang in the middle. Enjoy the shower! You will land in a brilliant cathedral where the slot will overhang above you. So cool! Pull your ropes for rappel 7 and 8 here.
Around the corner, one will find a perplexing sight. A waterfall comes crashing down the rock face across from you. Whoa! A double falls rappel?! AWESOME!
You will find a single bolt DCL. This is a bolt for a traverse line.
T1 (15 feet): Belay a canyon partner to the bolt station located between the two waterfalls.
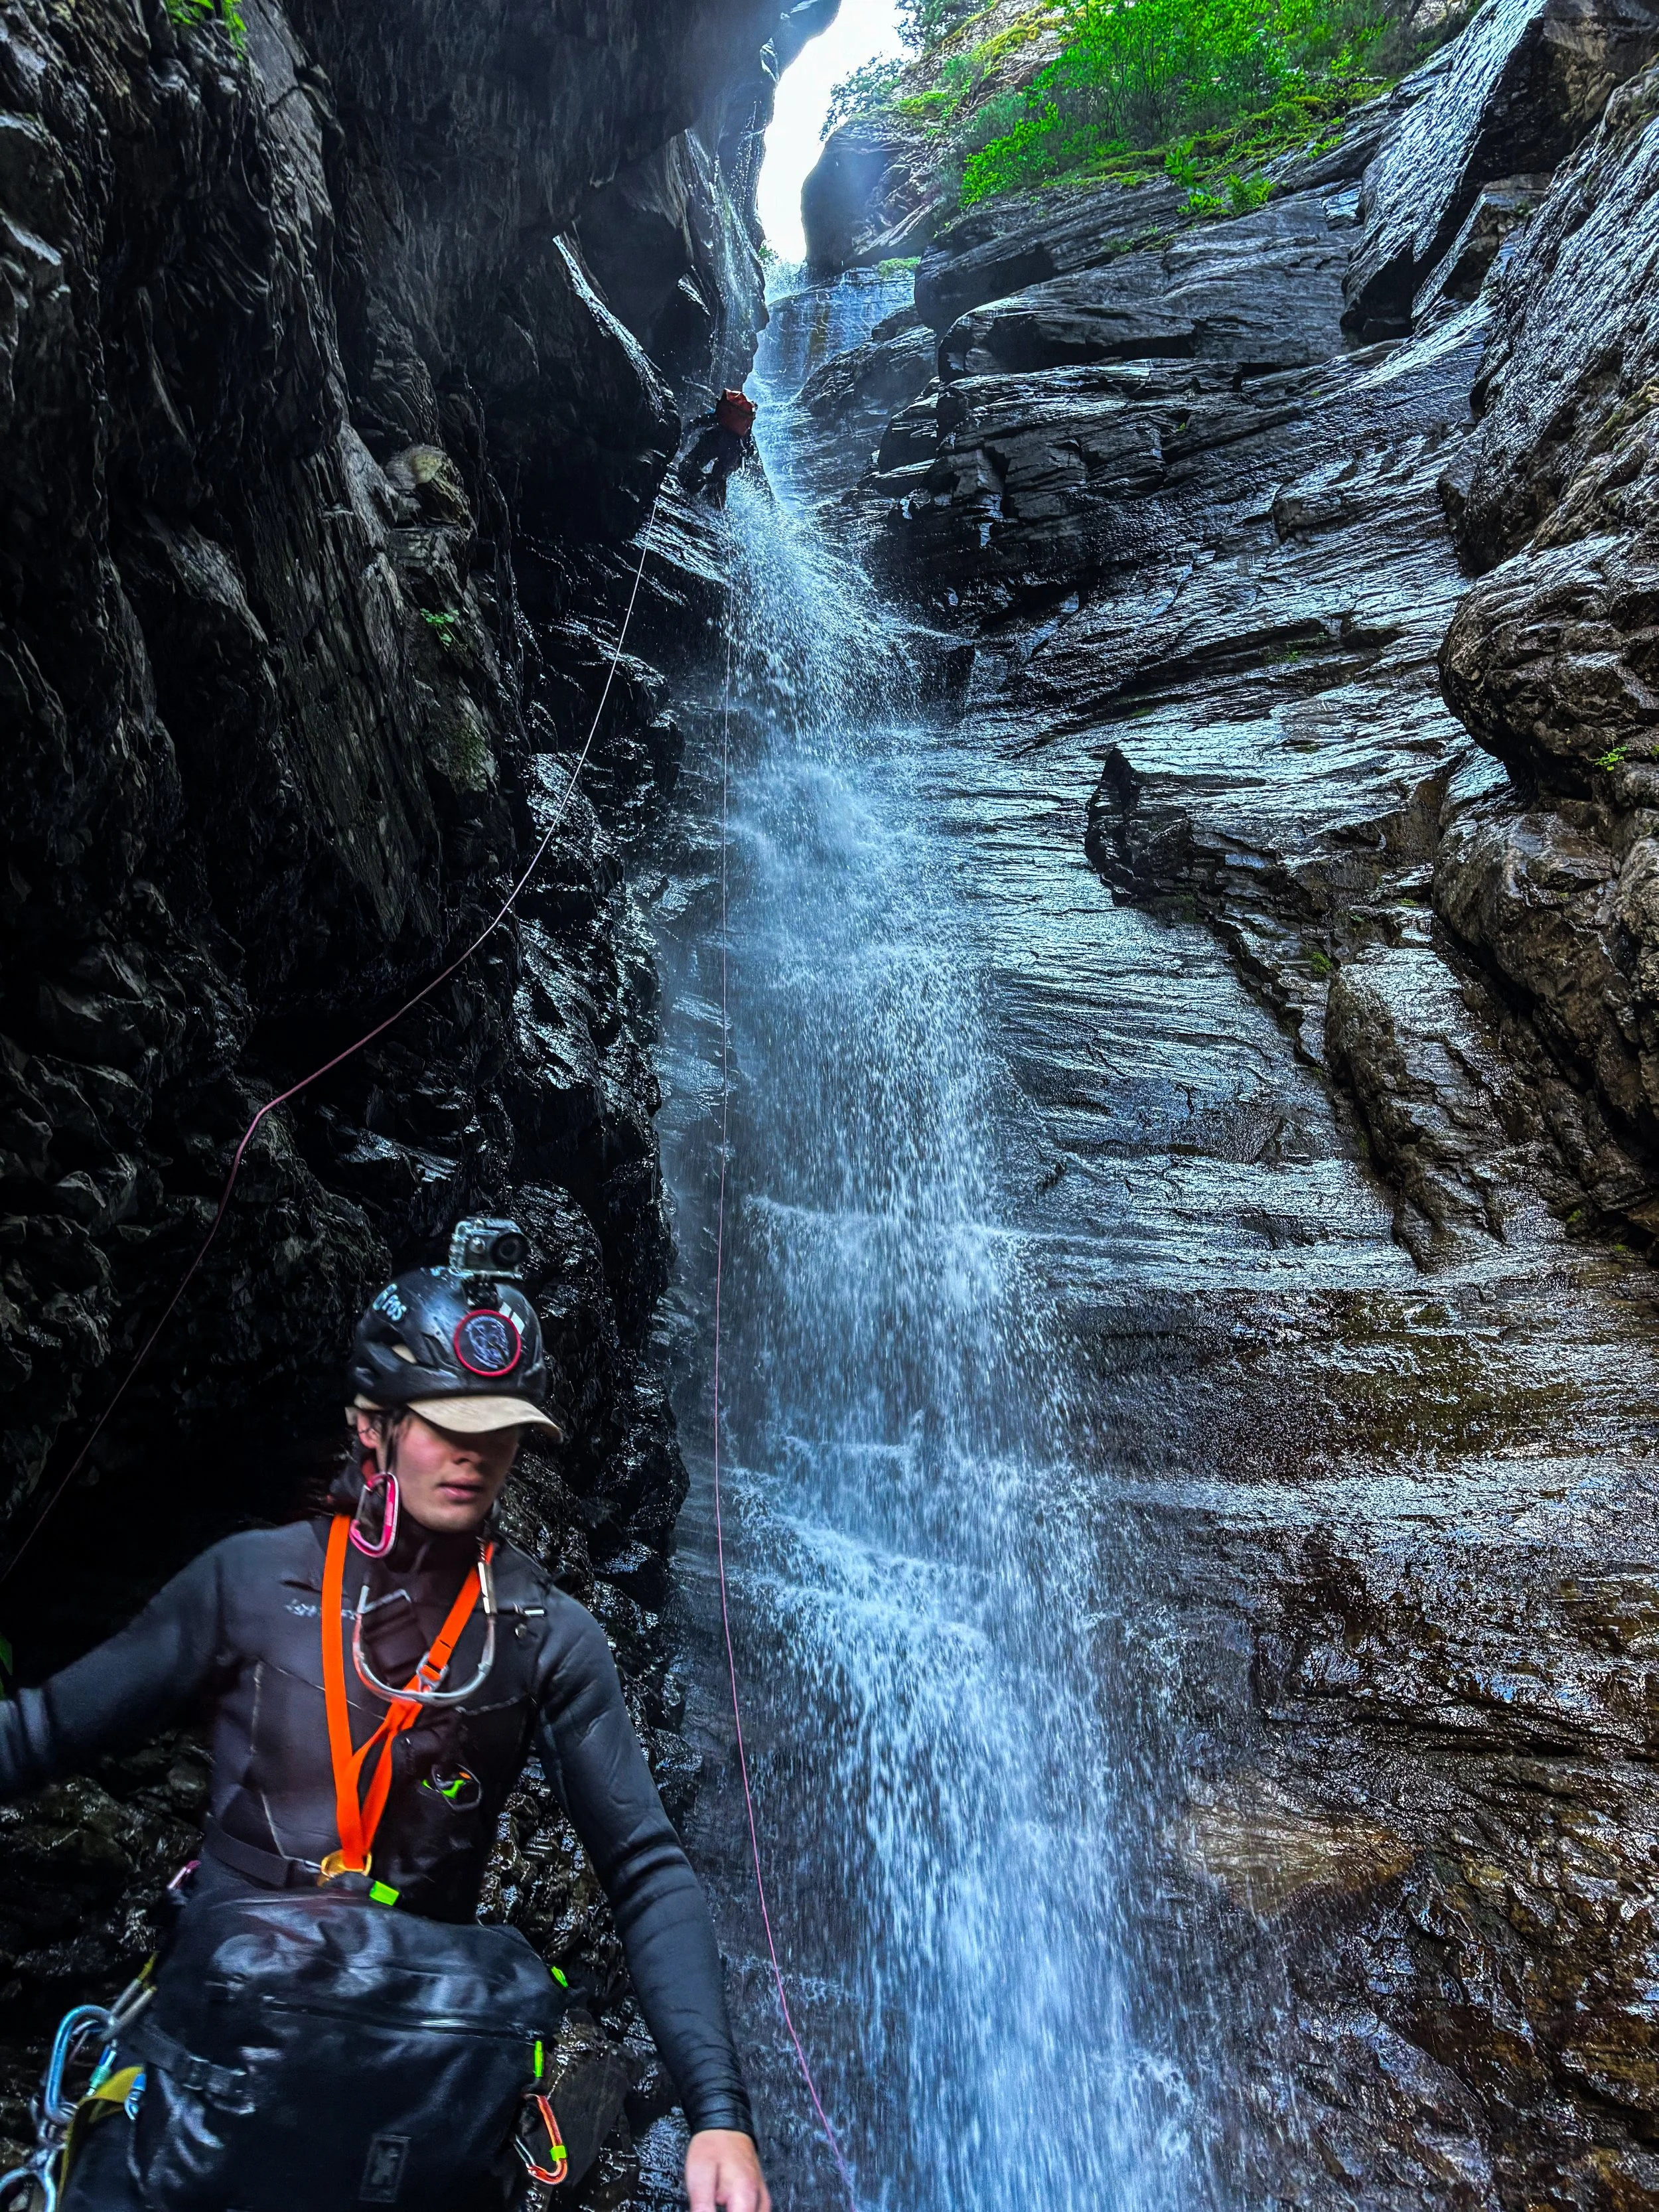
Rappel 9 (45 feet): Rappel between the falls, take it in, it's unlike anything else you’ve done. Eventually, you’ll land on a nice rocky floor. At the bottom, you will not be able to open your eyes from the mist.
After rappel 9, the waterflow doubles.
You will immediately find a single bolt DCL; this is rappel 10.
Rappel 10 (75 feet): From the single bolt rappel down these unusual falls. You will be getting pounded with flow while also balancing on a rocky ridge. Weird and tricky. Once down, the Vide Noir sequence is concluded, and you are in the pandmonious slot!
The Pandemonious Slot
Well, shoot, you’re halfway done, but don’t let that fool you; there are some more challenges ahead!
Walk down the impressive corridor and look to your left. What’s this? A 200-foot falls comes barreling down the left side of the canyon wall on top of you!
The flow doubles again, quadrupling the flow in the canyon. What? The canyon got its name for a reason. The flow will become pushy even in “low” flow conditions. If the canyon is in high water conditions… well, I hope you like the circus, as you are now the monkeys.
Through the mist and hanging gardens, an interesting drop comes into focus. This is rappel 11.
Rappel 11 (60ish feet): From a single bolt DCL, rappel down into the rooster tail below. There is a boulder that you will need to slide down after the main drop, which will make the rope length about 60ish feet. Just rig it releasable and set it yourself. What do you think this is? Accurate beta? Get real, I don’t get paid for this.
After 11, rap 12 comes swinging!
Rappel 12 (40 feet): From a single bolt DCL, get absolutely pitted and send her down the spiteful watercourse. Alternatively, hug the right side of the canyon and take less of the flow. Depending on the flow, zip the packs down. There is no reason to die here.
Walk across the waist-deep pool to the next drop. This is a rappel to get to rappel 14.
Rappel 13 and 14 are in sequence.
Rappel 13 (10 feet): From a single bolt DCL. Rappel down the slick, winding watercourse onto a platform to your left. Here you will find another single bolt. Please use this for rappel 14. This platform can hold a couple of people, but do yourself a favor: have a single anchor manager and send one at a time. 2 is comfortable, 3 is… crowded.
Rappel 14, “The Fan Rappel” (110 feet): From a single bolt DCL. Rappel down the opening watercourse into a magnificent hallway. On your right, the wall will be raining from springs that have found their way through the wall. Really cool. The water course also fans out, hence the name of the rappel.
Pull the rope and enjoy the view from below, then go into a tighter hallway with some mild downclimbs. Be careful of twisting your ankle. Soon, you will find the water course drops down onto a ledge and jets at a perfect 90-degree angle to your right. This is the final crux of the canyon and should be tackled with great care.
Rappel 15, “The Corkscrew Rappel” (40 feet): From a single bolt DCL, send down your best down-climber (not that it matters, everyone gets to do it). They will rappel down onto the platform below and to the second stage. The second stage is a 20-foot drop that tightens to a couple of inches wide. You MUST stem above the raging watercourse while on rappel. At the very bottom, you will end up in the flow, so be ready to disconnect. You can stand, but it will be violent! After the first person goes, zip the packs down. Please note that there is a risk of foot/body entrapment inside of heavy flow. Falling into the restriction is not an option for those who want to see another year of taxable income. If a partner falls in, you may need to hoist them out (if even possible).
After that short rodeo, you will walk down the canyon and run into 2 more short rappels. These are the last rappels of the Pandemonious slot.
Rappel 16 (15 feet): From a single bolt DCL, rappel down and watch your knees. The rocks hurt.
Walk down the canyon 20 feet, and you will find a bolt 10 feet back from the edge of the next falls.
Rappel 17 (20 feet): From a single bolt DCL, rappel down and once again, watch your knees. The anchor has been placed far from the edge due to poor rock quality.
Once complete. The slot will relent, and you will find yourself in an incredible riparian section. Eat some food. Relax. You still have more to go, but you’ll need the energy for what’s ahead!
The Final Sequence
Ah, yes, the cherry on top. The final sequence is a great way to end a 5-star canyon. After you have had your beta-mandated snack. Continue down into the riparian section. Please STAY IN THE WATER COURSE. That does not mean go next to the water. STAY IN THE GOD DAMN WATER COURSE. DO NOT RUIN THE PLANT LIFE BECAUSE YOU THINK IT WILL BE EASIER. It isn’t. As god as my witness, if I find a social trail developing in this canyon, I will do everything in my power to help Glacier National Park close it. Do not be a rimayneer. You have a wetsuit on. You’ve been in the watercourse all day. STAY IN IT.
Now that I got that out of my system, everything is rainbows and sunshine. Go down through the watercourse and under the thickening plant life. You will encounter a downclimb into a chest-deep pool. This is not a jump. Soon after, the brush will become alder bushes. You will want to leave the watercourse, but you won’t because you are a good person. The watercourse ends with a 15-foot slide under the brush and into a chest-deep pool. Fun!
Once out of the brush, walk down the canyon, and you will run into a drop. Rather than climbing out and destroying the vegetation. Please use the slung tree DCL.
Rappel 18 (15 feet): From a slung tree DCL. Just go down.
Once down, cross the watercourse as you begin to see the valley fall below you. Dead Horse Mountain will be centered in view. This is the beginning of the end. Due to the sparsity of anchors, you will need to leave the watercourse and destroy the plant life. Sad. There is a rock fin that you can stand on and look down into the valley below. Traverse right and down past this rock fin to a platform right above the falls. You will find two bolts. Welcome to the white ribbon rappel. This rappel can be seen from Going to the Sun Road.
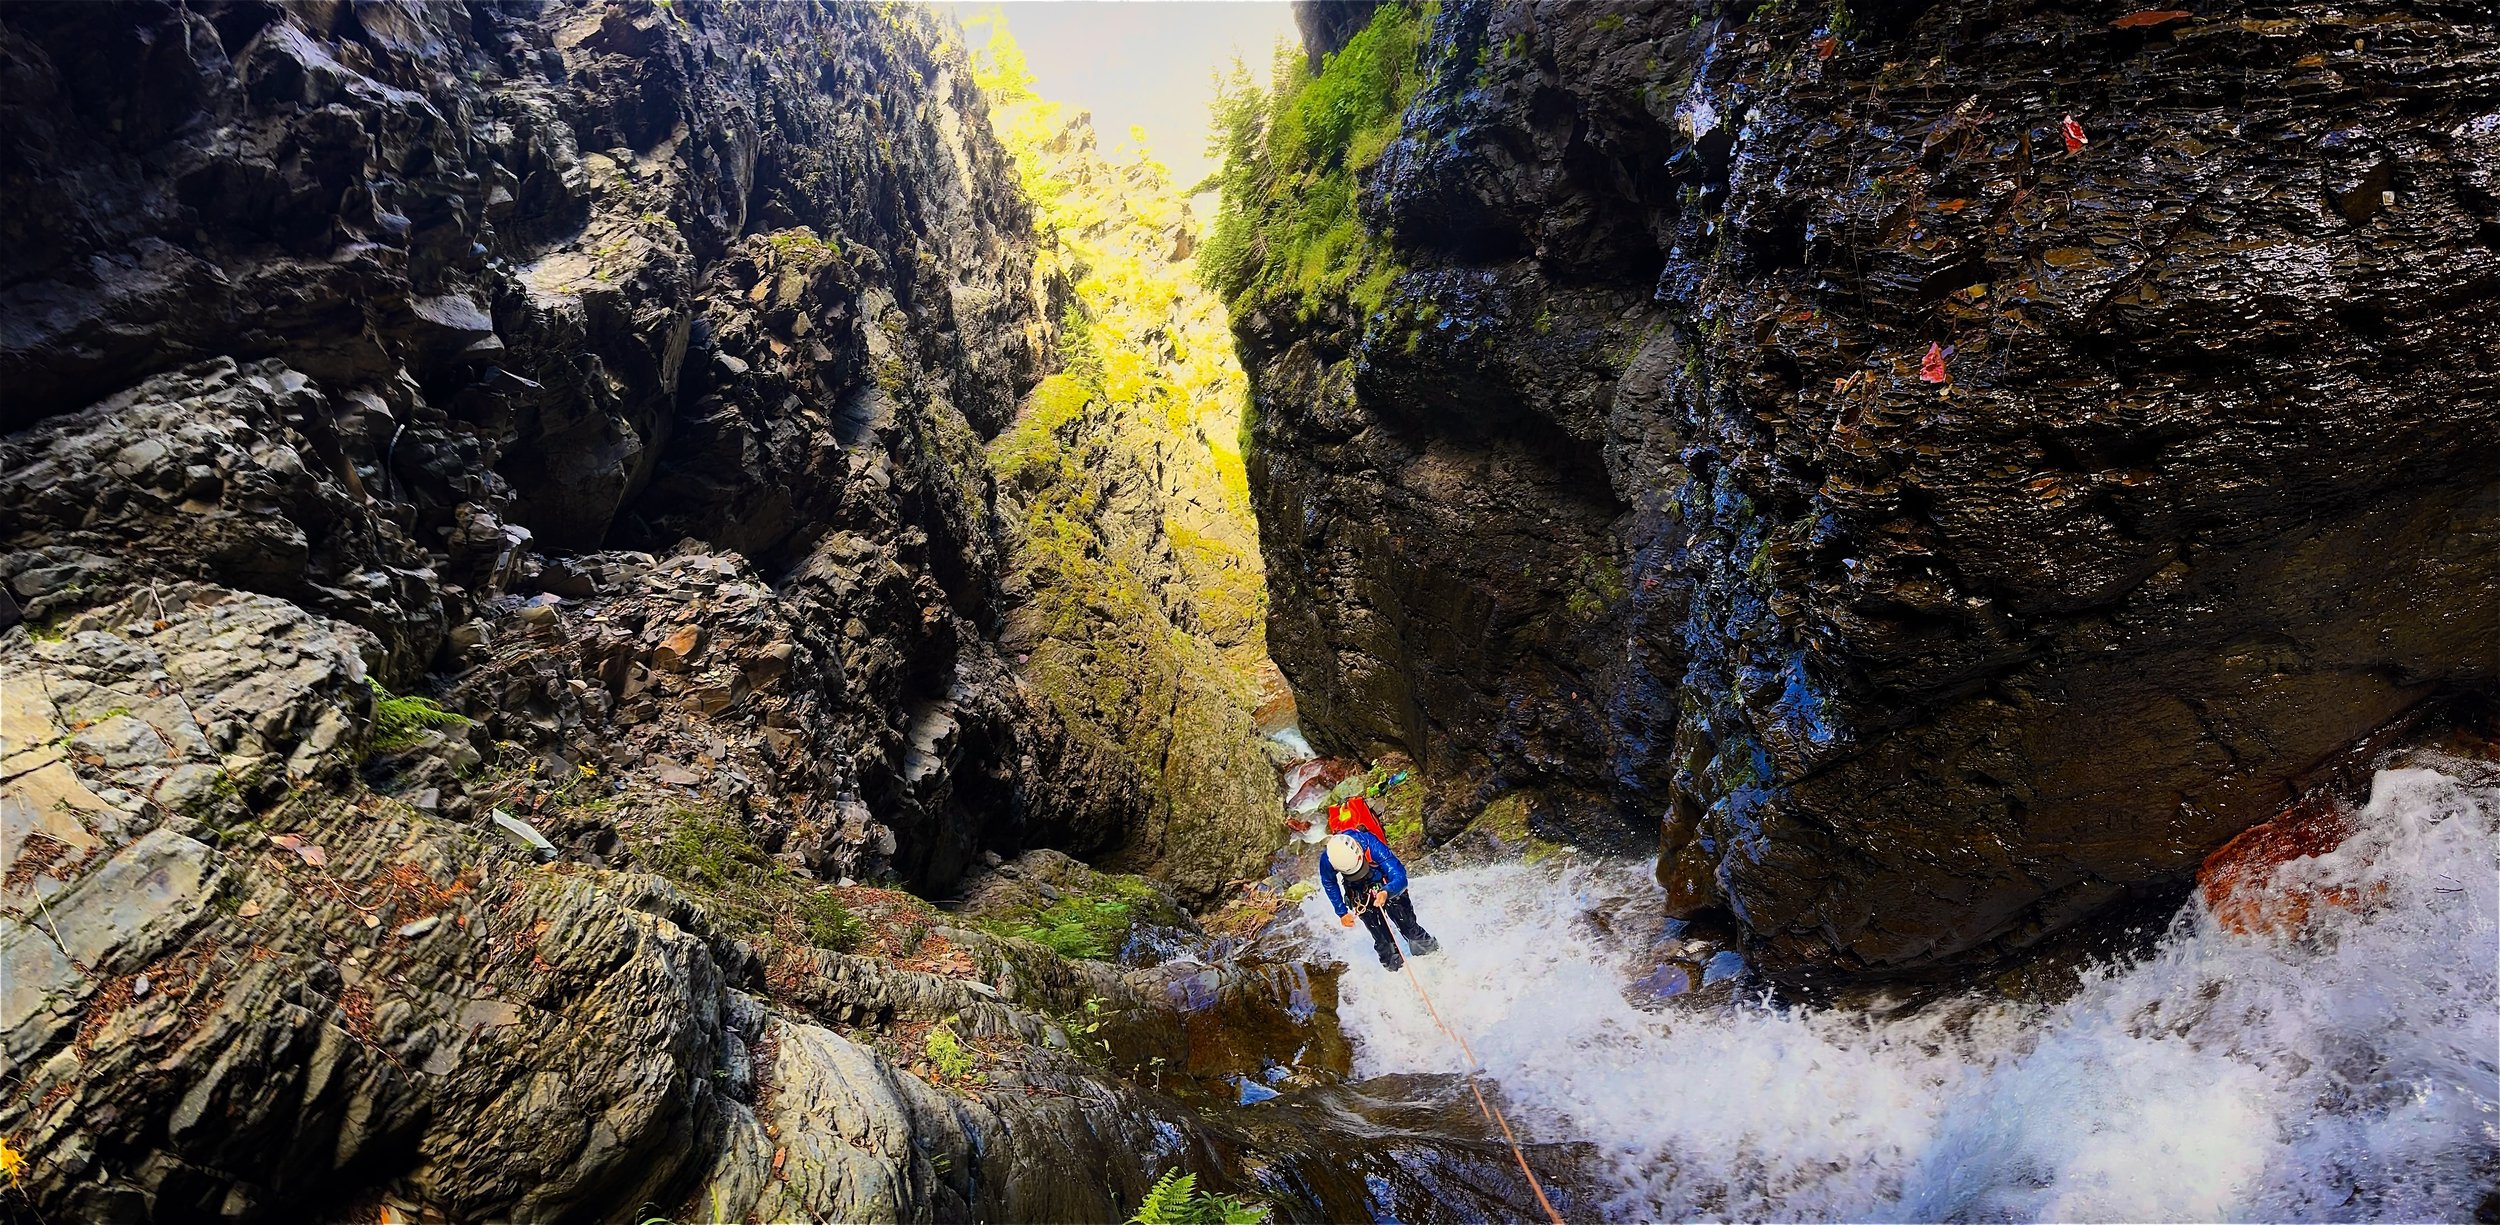
Rappel 19, “The White Ribbon” (130 feet): From a two-bolt anchor station, rappel down the drop and under the overhung wall. Awesome!
Pull the rope, walk down the canyon, and bypass the next drop by downclimbing right. The next drop comes into view. You will find the anchor 20 feet back from the edge of the wall to your right.
Rappel 20 (60 feet): From a single bolt DCR, rappel down the two-stage sequence. Enjoy the end as it tries to remove your feet from under you.
Once down, you are not quite out of the woods yet. There is a log wedged at the surface level about 20 feet down the canyon. Use this as a point to make a traverse line across the slickrock slope so your partners do not fall and break bones. Once this is complete.
Congratulations. You found yourself a little slice of Pandemonium.
Continue down the watercourse, NOT making social trails until you hit the trail and foot bridge below.
Lick your wounds, take off your gear, and celebrate. You only have 4+ miles of trail walking to go. At least you have huckleberries!

The Exit
Take the trail back to your car. Try not to get eaten by a bear or CDT hikers.
Day 1 (Lower Pandemonium)
(Rappel 3/4)
Rappel 6

Rappel 7

Rappel 7
Rappel 7

Rappel 8
Rappel 8

Rappel 8

Rappel 9
Pandemonious Slot
Rappel 10
Rappel 11
Rappel 12
Rappel 13
Rappel 14
Rappel 15
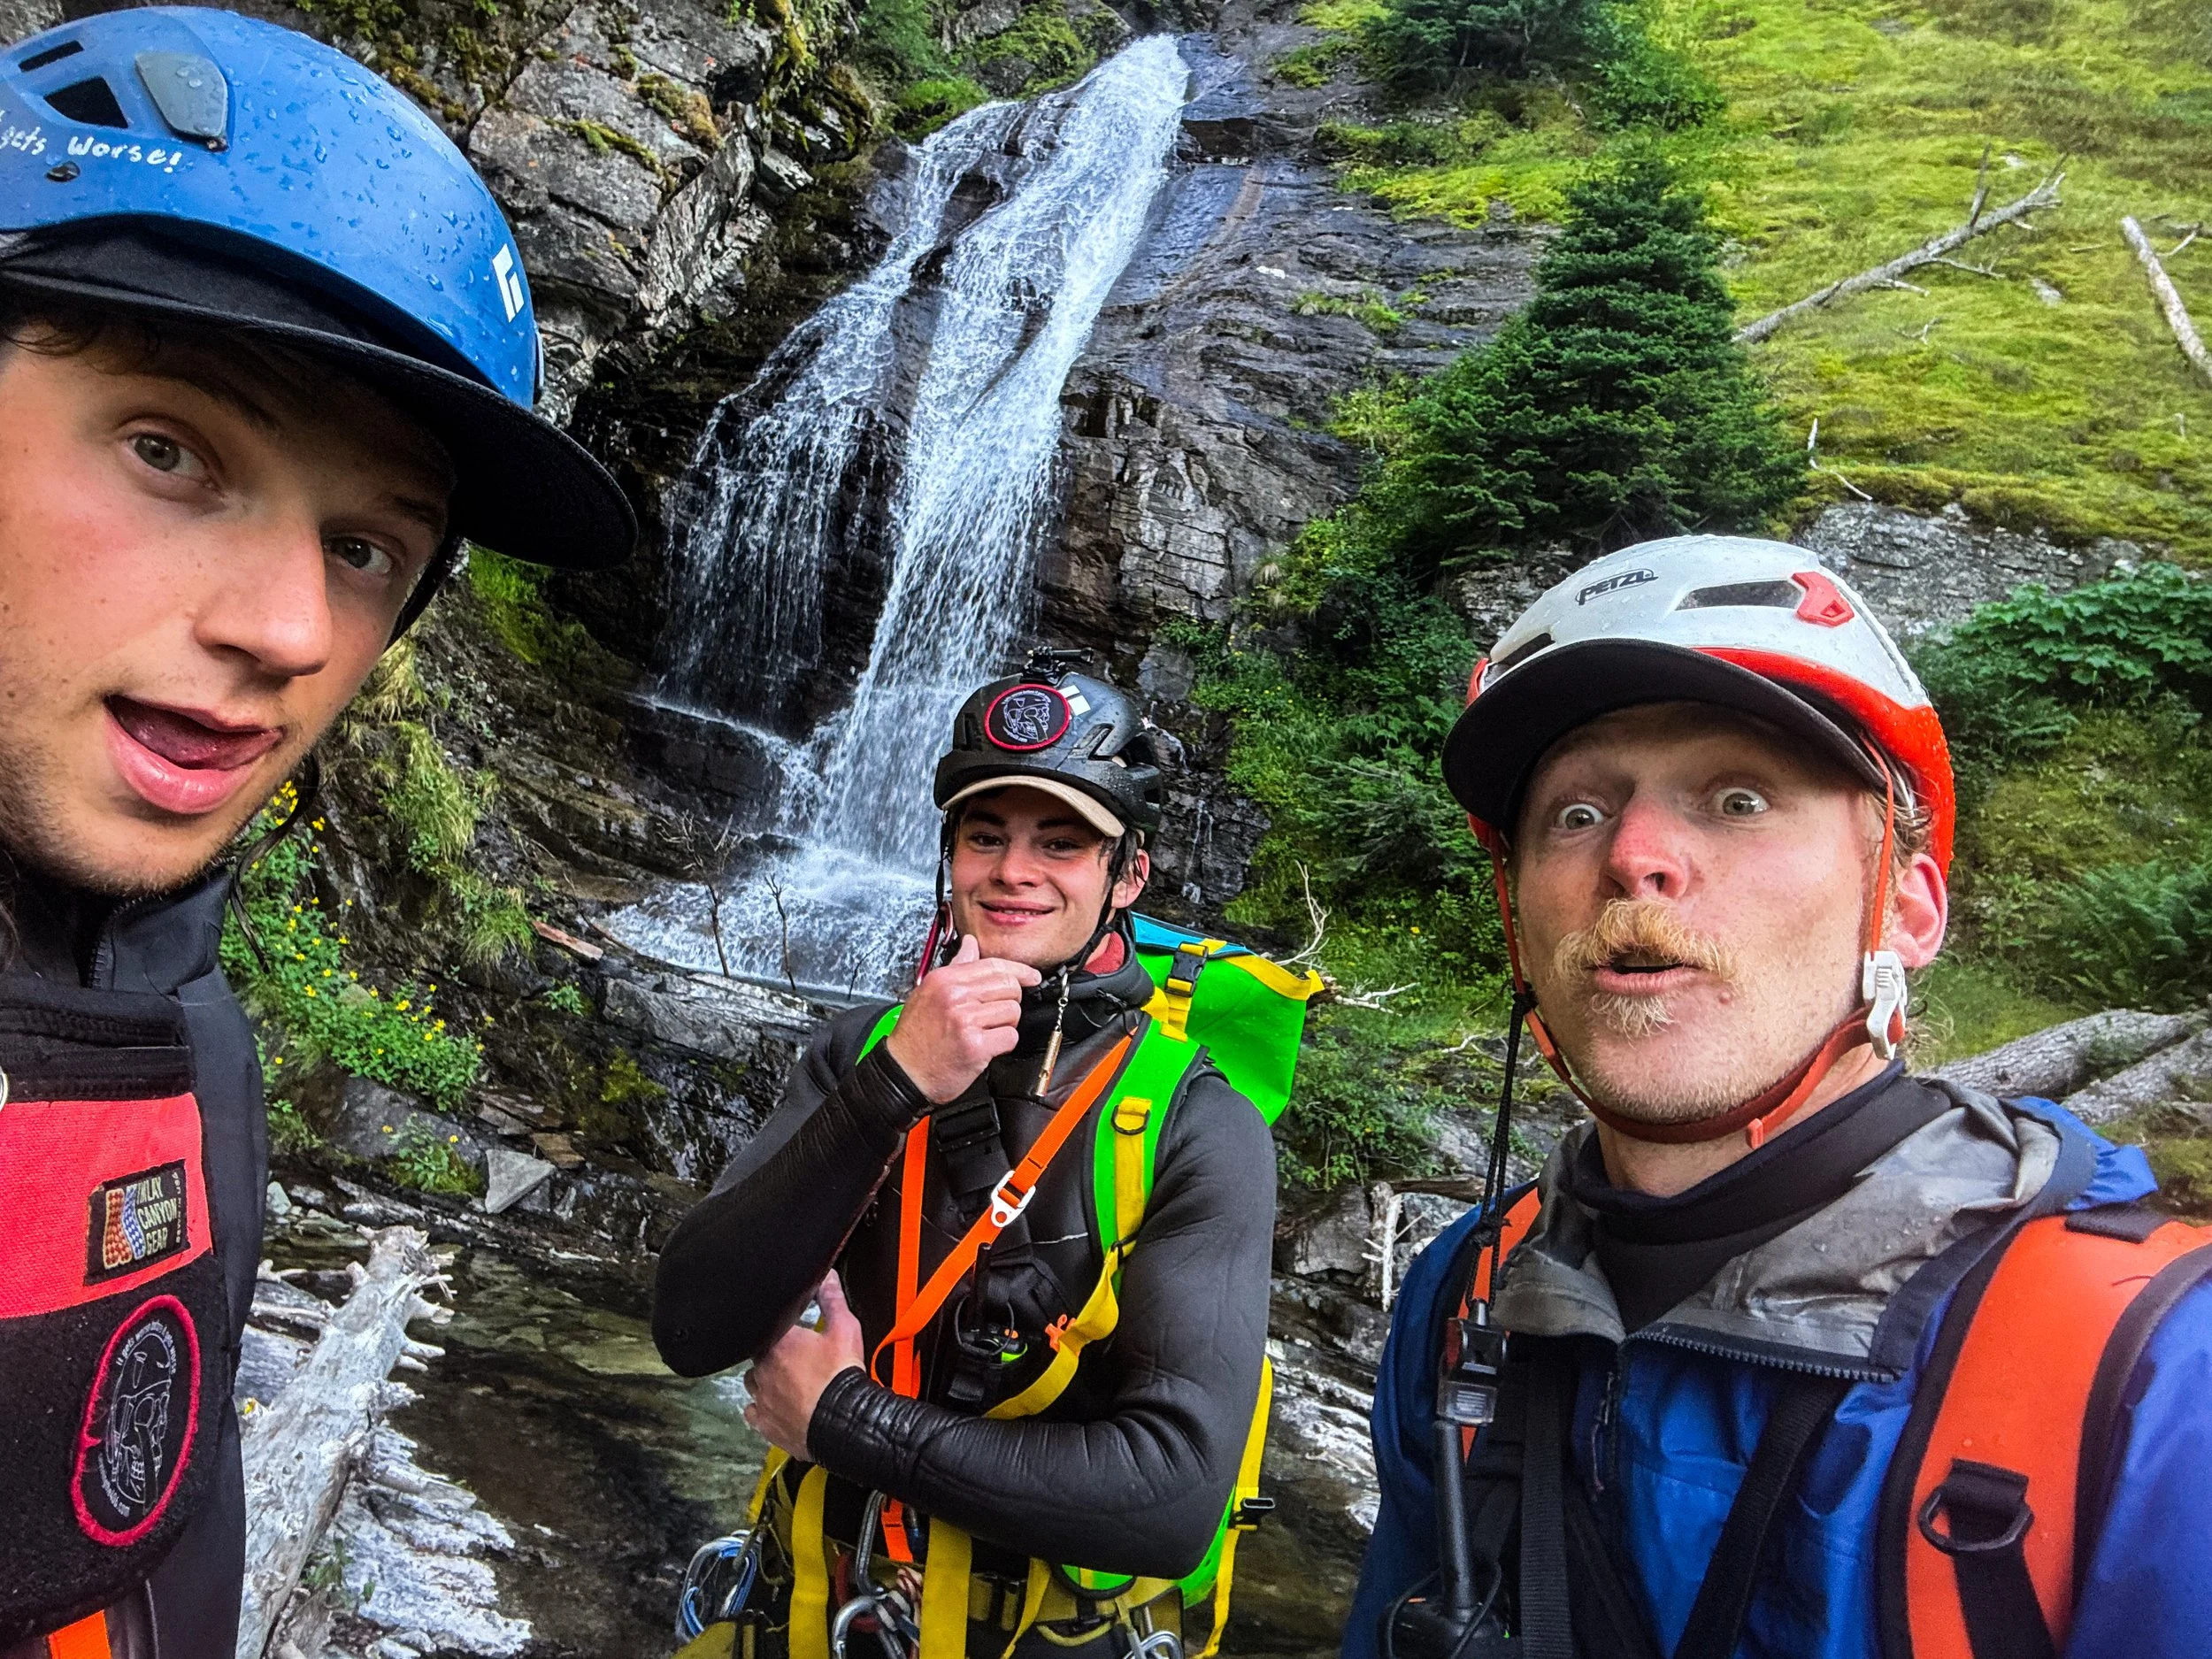
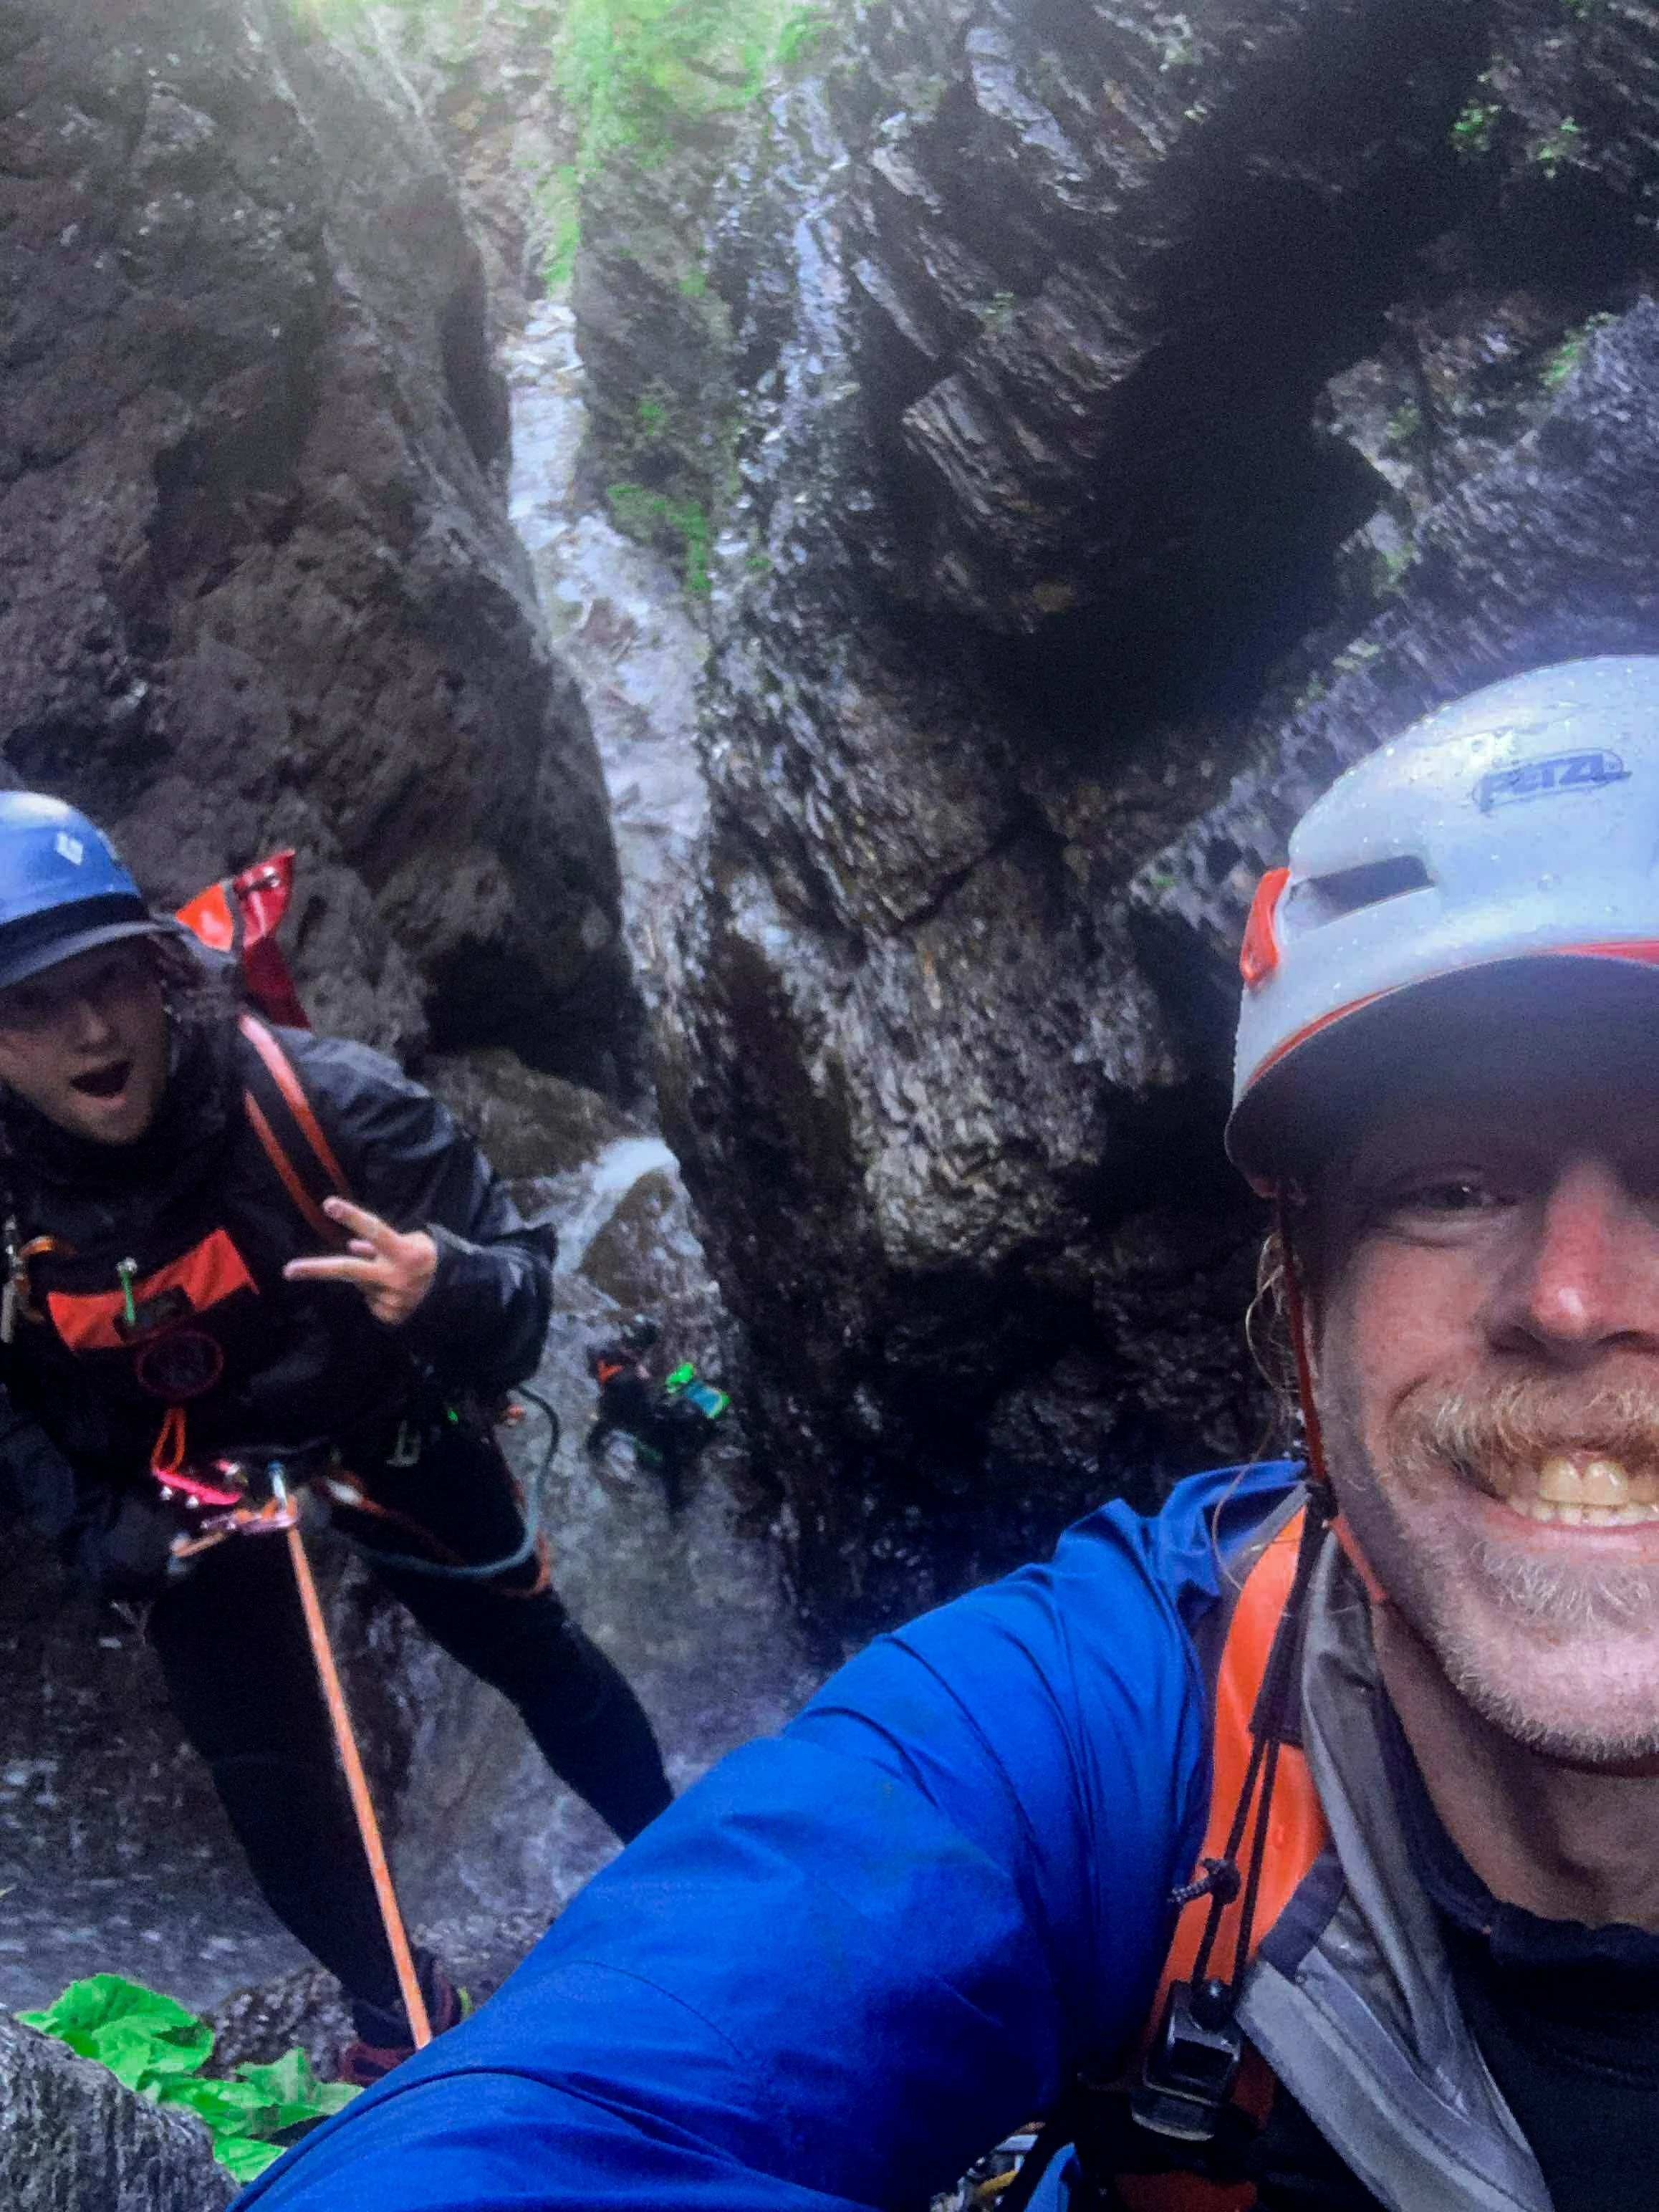
Stoke! (Rappel 19)
Rappel 20